# TOPODRONE LiDAR to backpack installation
**To install the TOPODRONE LiDAR on the backpack, you need the following components included in the package:**
[](https://knowledge.topodrone.ru/uploads/images/gallery/2024-10/L3a1.jpg)
| 1\. TOPODRONE LiDAR - 1 pc.
2\. TOPODRONE Backpack - 1 pc.
3\. Backpack LiDAR mount with antenna cable - 1 pc.
4\. LiDAR mount spacer - 1 pc.
5\. GNSS Antenna - 1 pc.
6\. Power Bank - 1 pc.
7\. LEMO 6 PIN - USB Type-C power cable - 1 pc.
8\. Pole (30 cm) - 1 pc.
| 9. Screw M3x8 - 4 pc.
10. Screw М4х8 - 1 pc.
11. Screw М5х8 - 1 pc.
12. Screw 5/8" - 11 UNC x 3/4" - 1 pc.
13. Hex 2.5 screwdriver - 1 pc.
14. Hex 3 screwdriver - 1 pc.
15. Hex 4 screwdriver - 1 pc. |
**It is strongly recommended to use a protective soft cover for the TOPODRONE LiDAR to avoid the risk of damaging the laser scanning lens!** **For better clarity, in the photos shown, the TOPODRONE LiDAR is shown without the case.**
**To install the TOPODRONE LiDAR on the backpack, follow the steps below:**
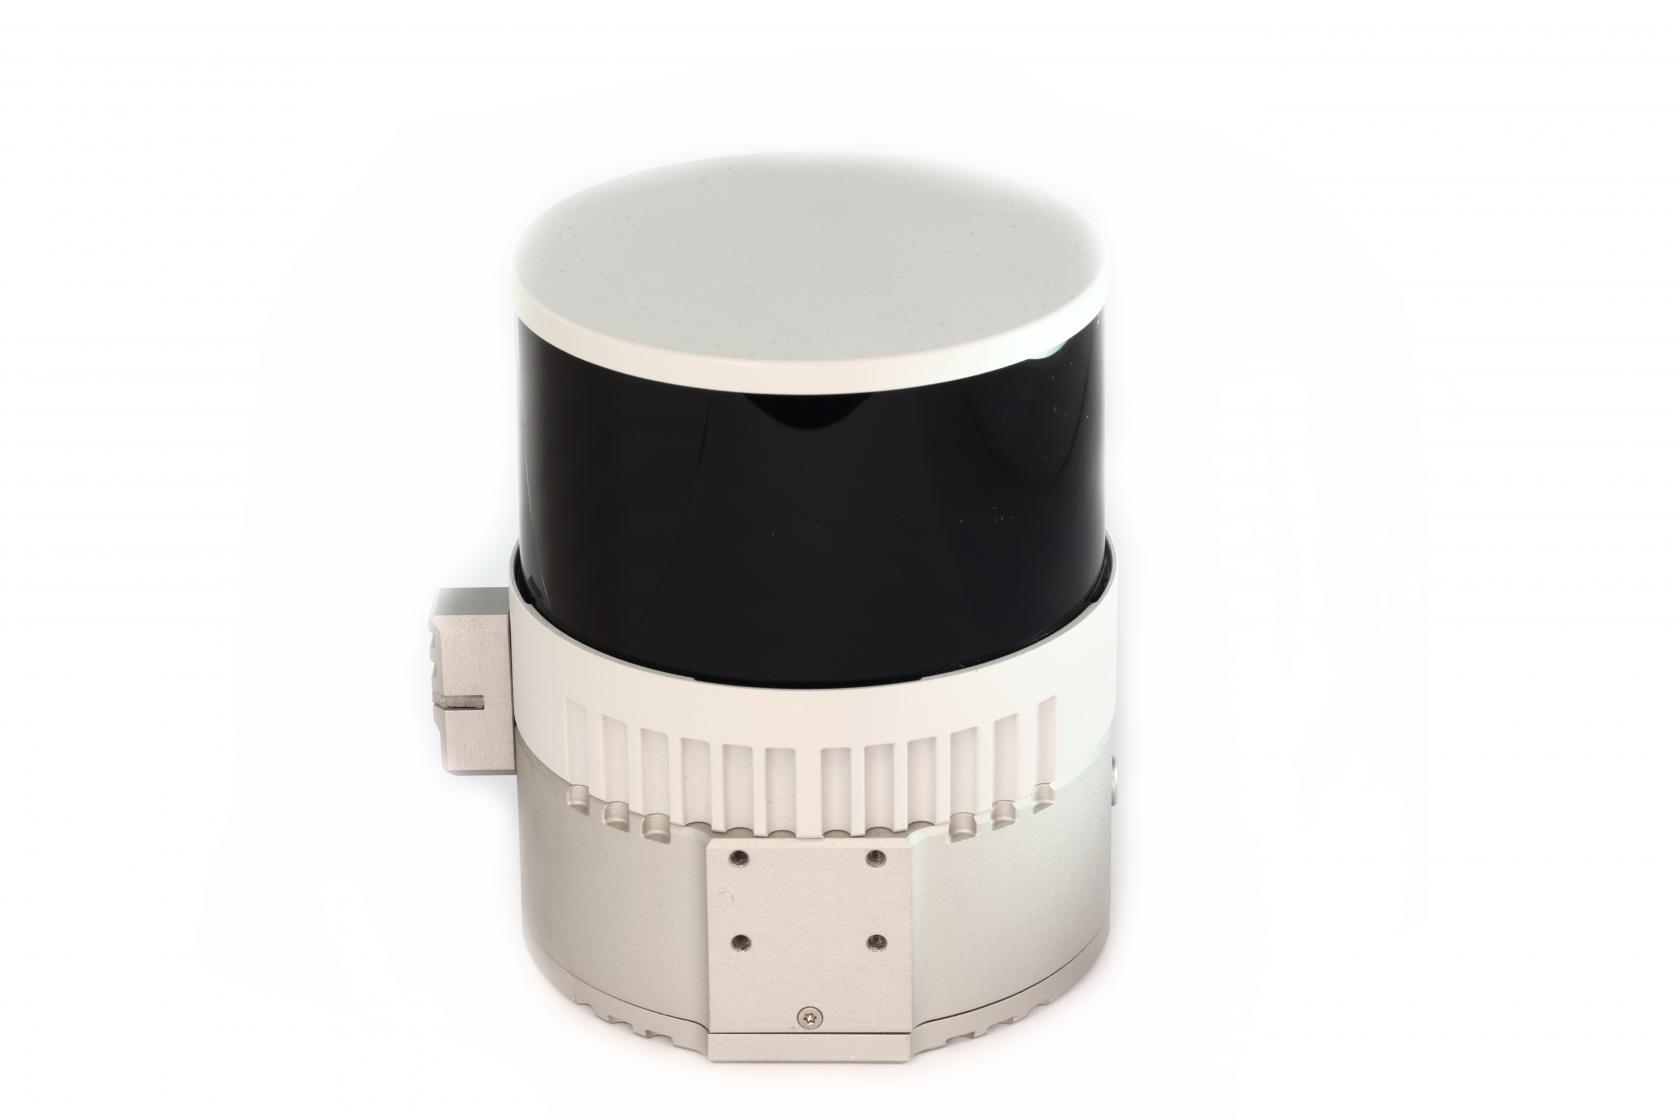
1\. Place the TOPODRONE LiDAR **(1)** on a flat surface as shown in the photo.
[](https://knowledge.topodrone.ru/uploads/images/gallery/2024-10/143a9353.JPG)
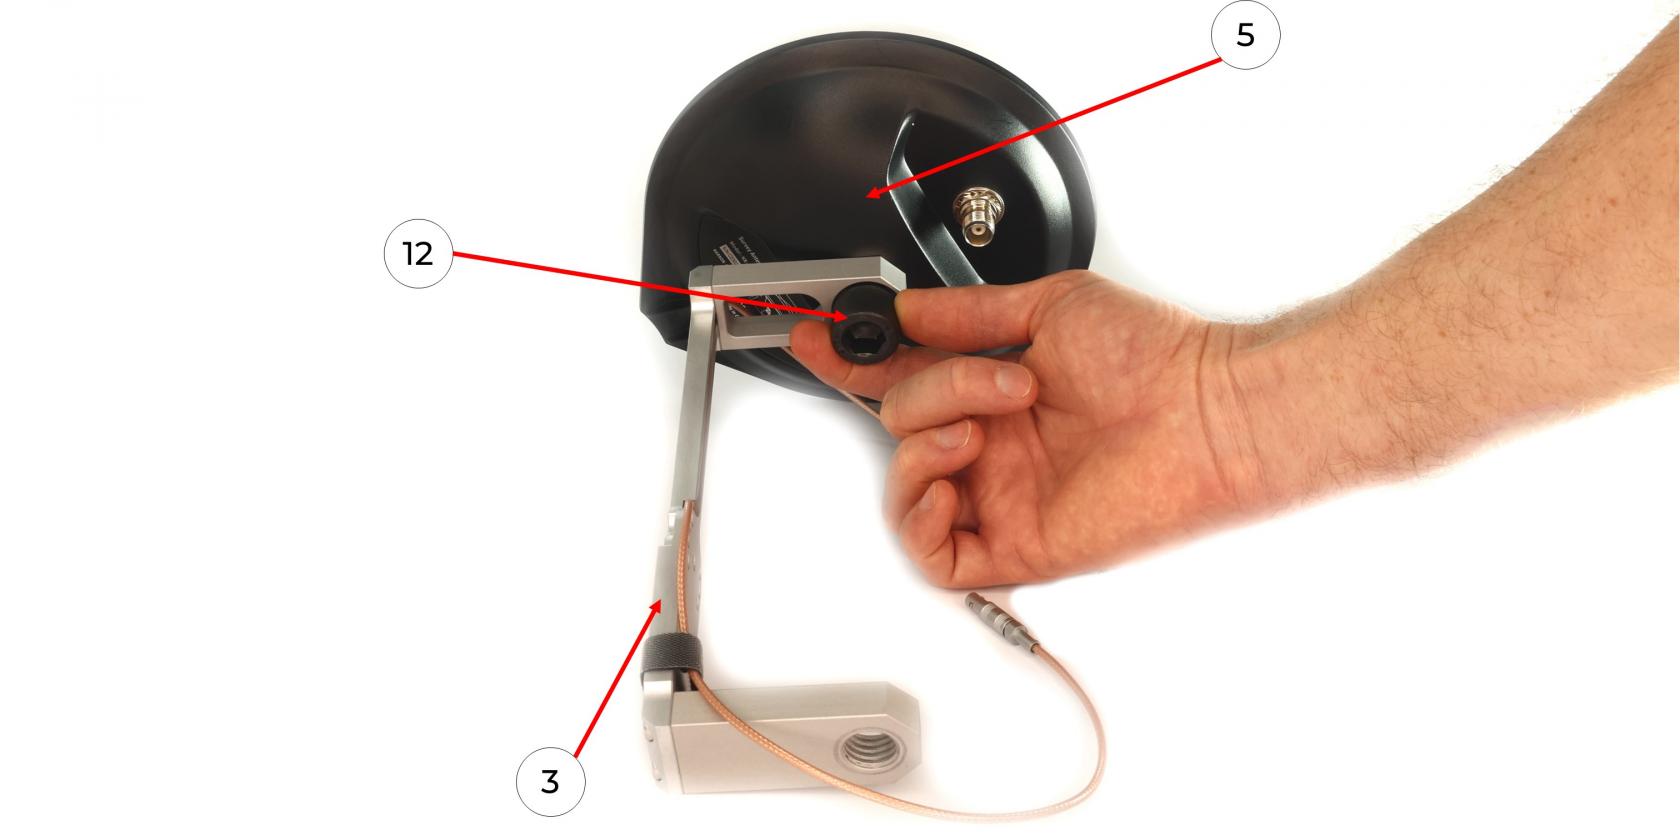
2\. Using a Hex M2.5 screwdriver **(13)** and M3x8 screws **(9)**, install the laser scanner mount adapter **(4)** as shown in the photo.[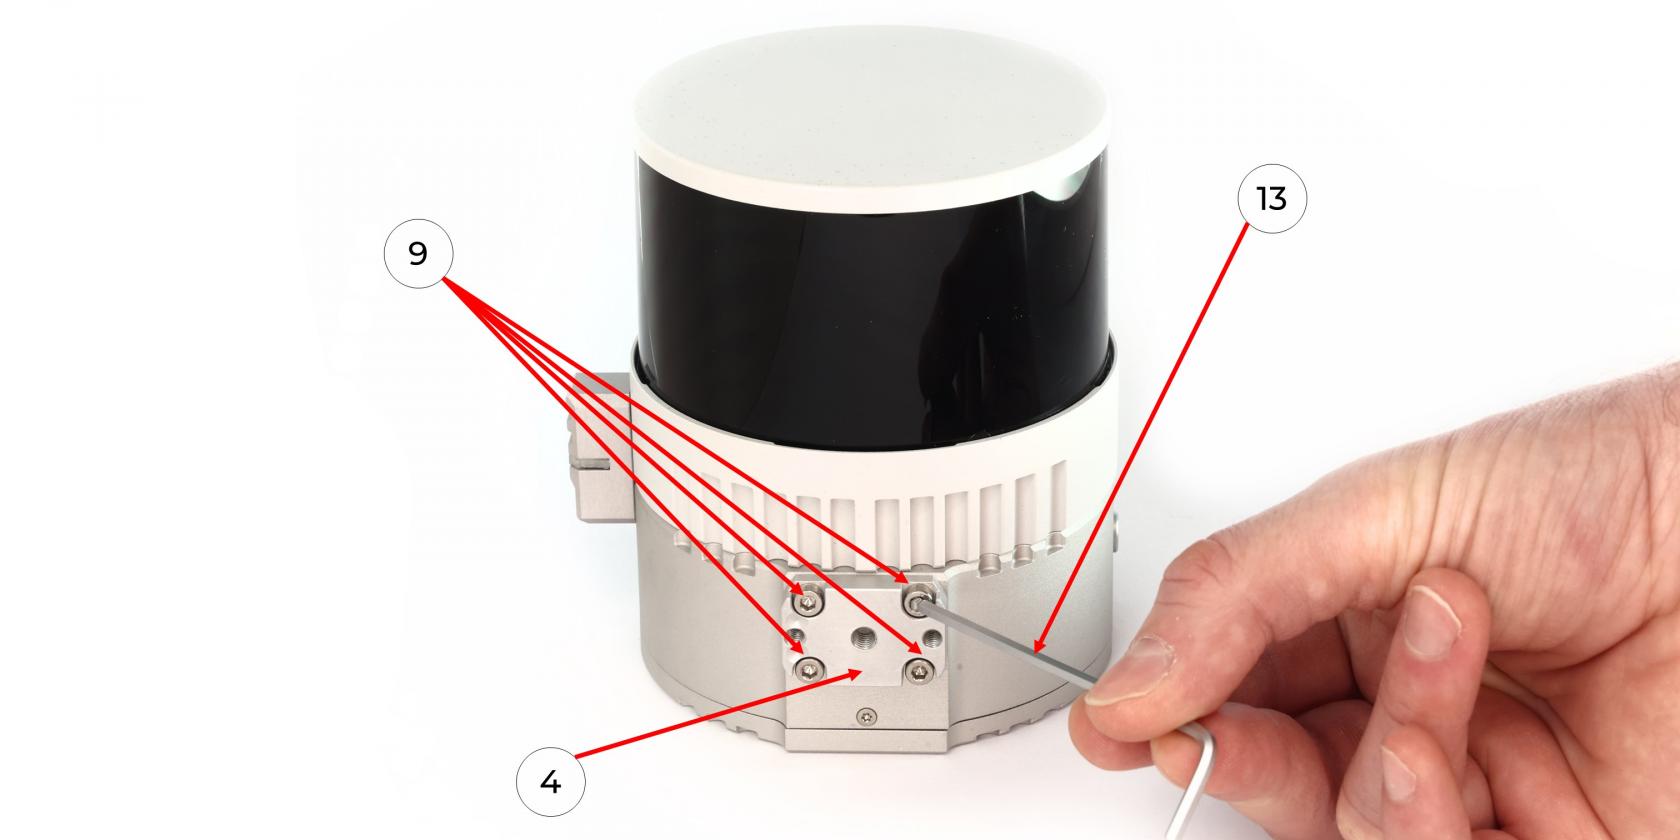](https://knowledge.topodrone.ru/uploads/images/gallery/2024-10/3.jpg)3. Manually screw the GNSS antenna **(5)** onto the Backpack Mount with antenna cable **(3)** using a 5/8“ - 11 UNC x 3/4” screw **(12)** as shown in the photo.
[](https://knowledge.topodrone.ru/uploads/images/gallery/2024-10/4.jpg)
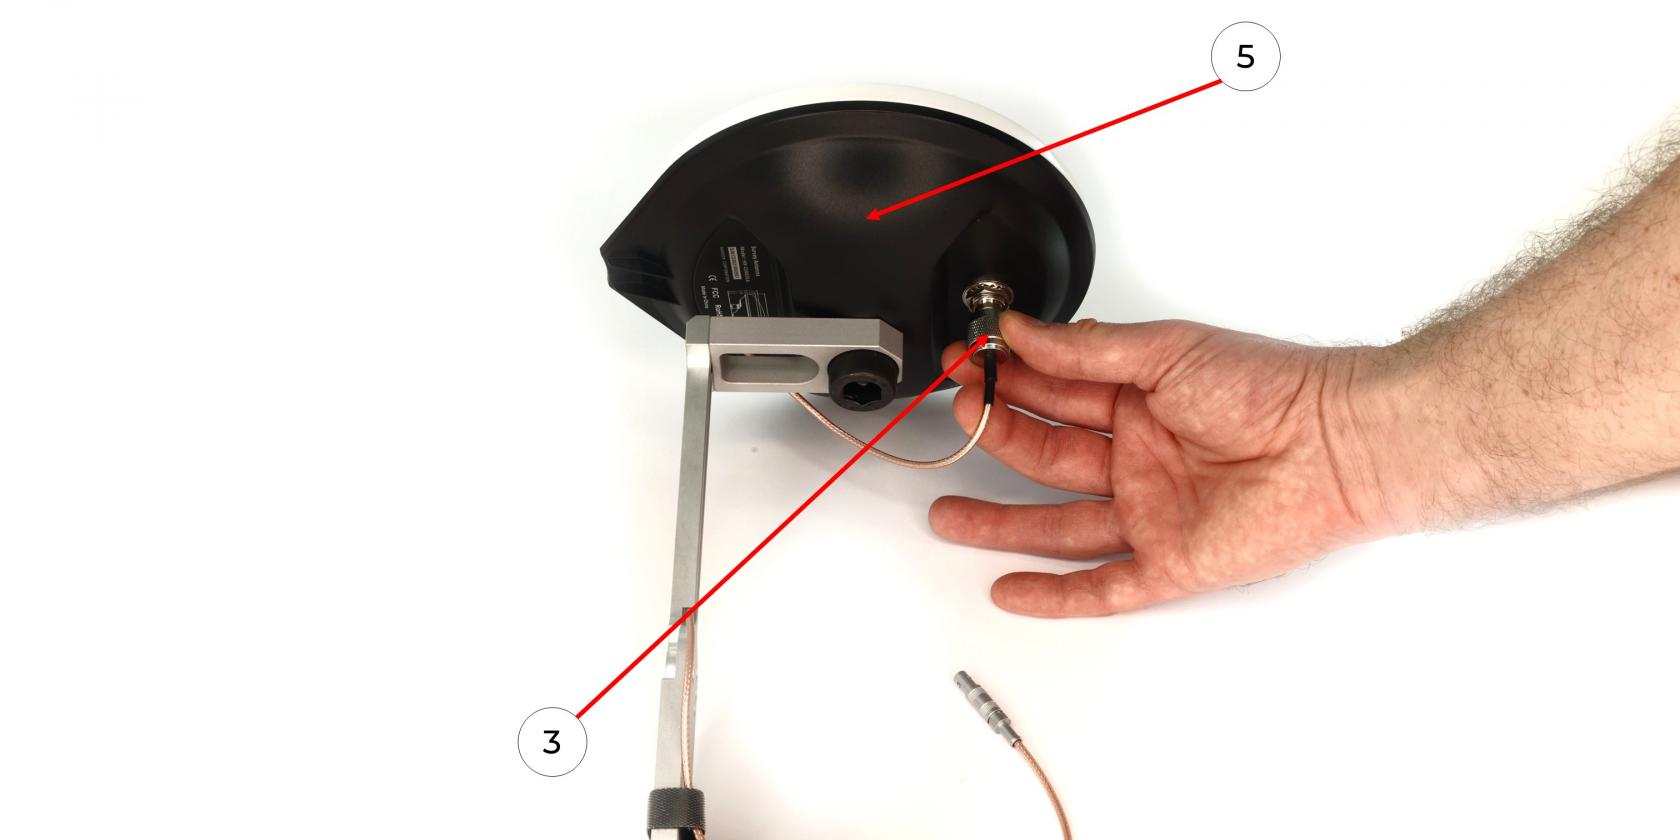
4\. Connect the antenna cable **(3)** to the GNSS antenna **(5)**, avoiding bends as shown in the photo.
[](https://knowledge.topodrone.ru/uploads/images/gallery/2024-10/5.jpg)
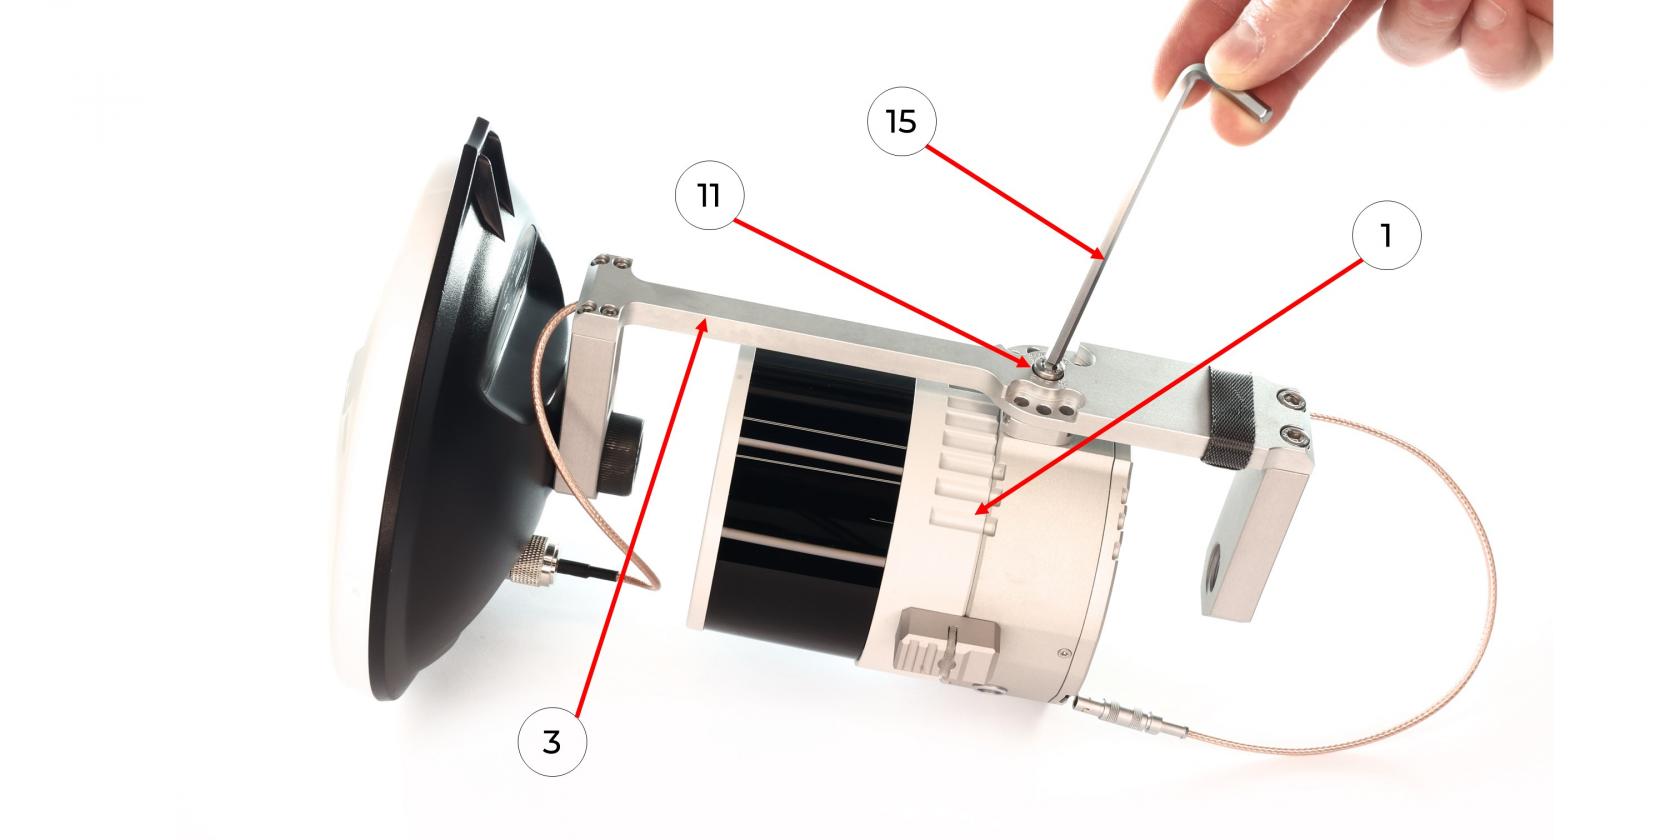
5\. Using a Hex 4 screwdriver **(15)** and an M5x8 screw **(11)**, mount the TOPODRONE LiDAR to the fastening part of the backpack **(3)** without pinching the antenna cable.
[](https://knowledge.topodrone.ru/uploads/images/gallery/2024-10/V8Y6.jpg)
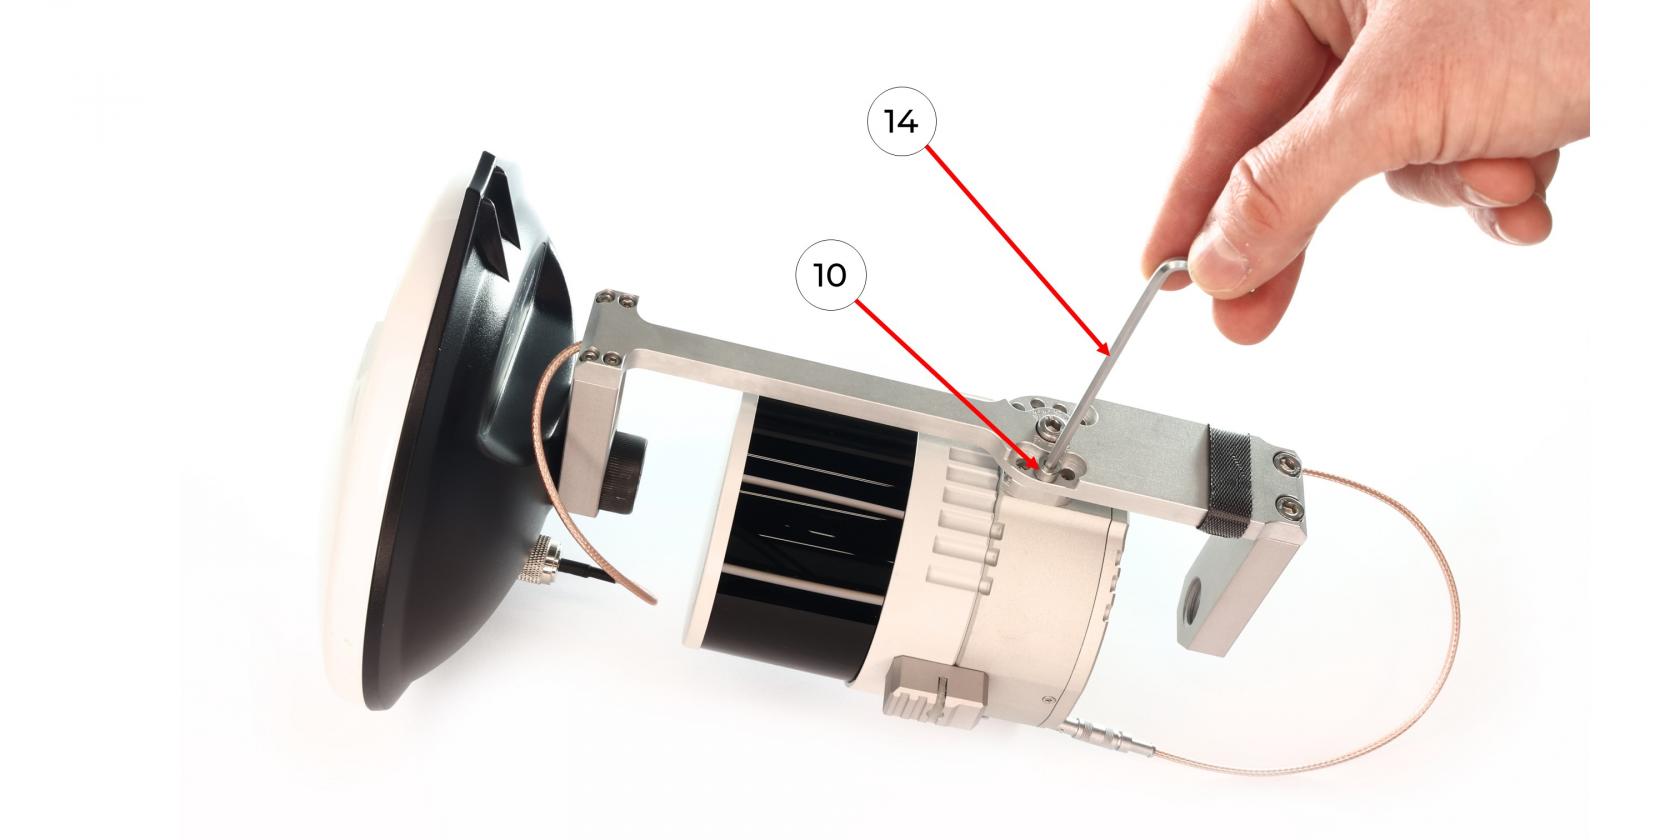
6\. Position the TOPODRONE LiDAR on the mount at the required angle and fix it with the M4x8 screw **(10)** using a Hex 3 screwdriver **(14)**.
[](https://knowledge.topodrone.ru/uploads/images/gallery/2024-10/TLG7.jpg)
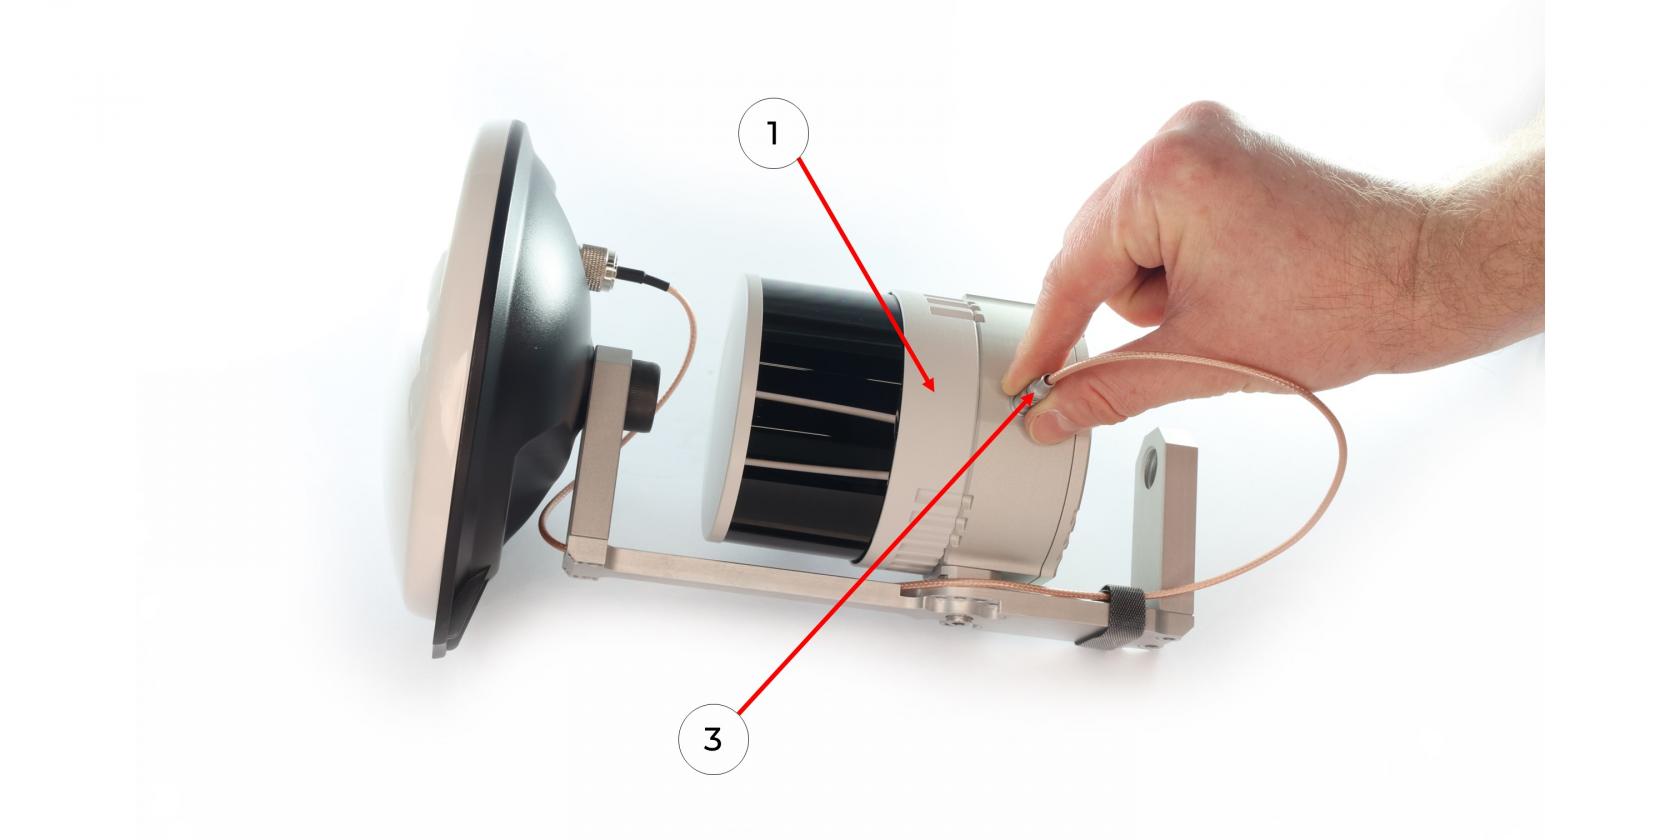
7\. Connect the antenna connector of the LEMO mount **(3)** to the TOPODRONE LiDAR **(1)**
[](https://knowledge.topodrone.ru/uploads/images/gallery/2024-10/12.jpg)
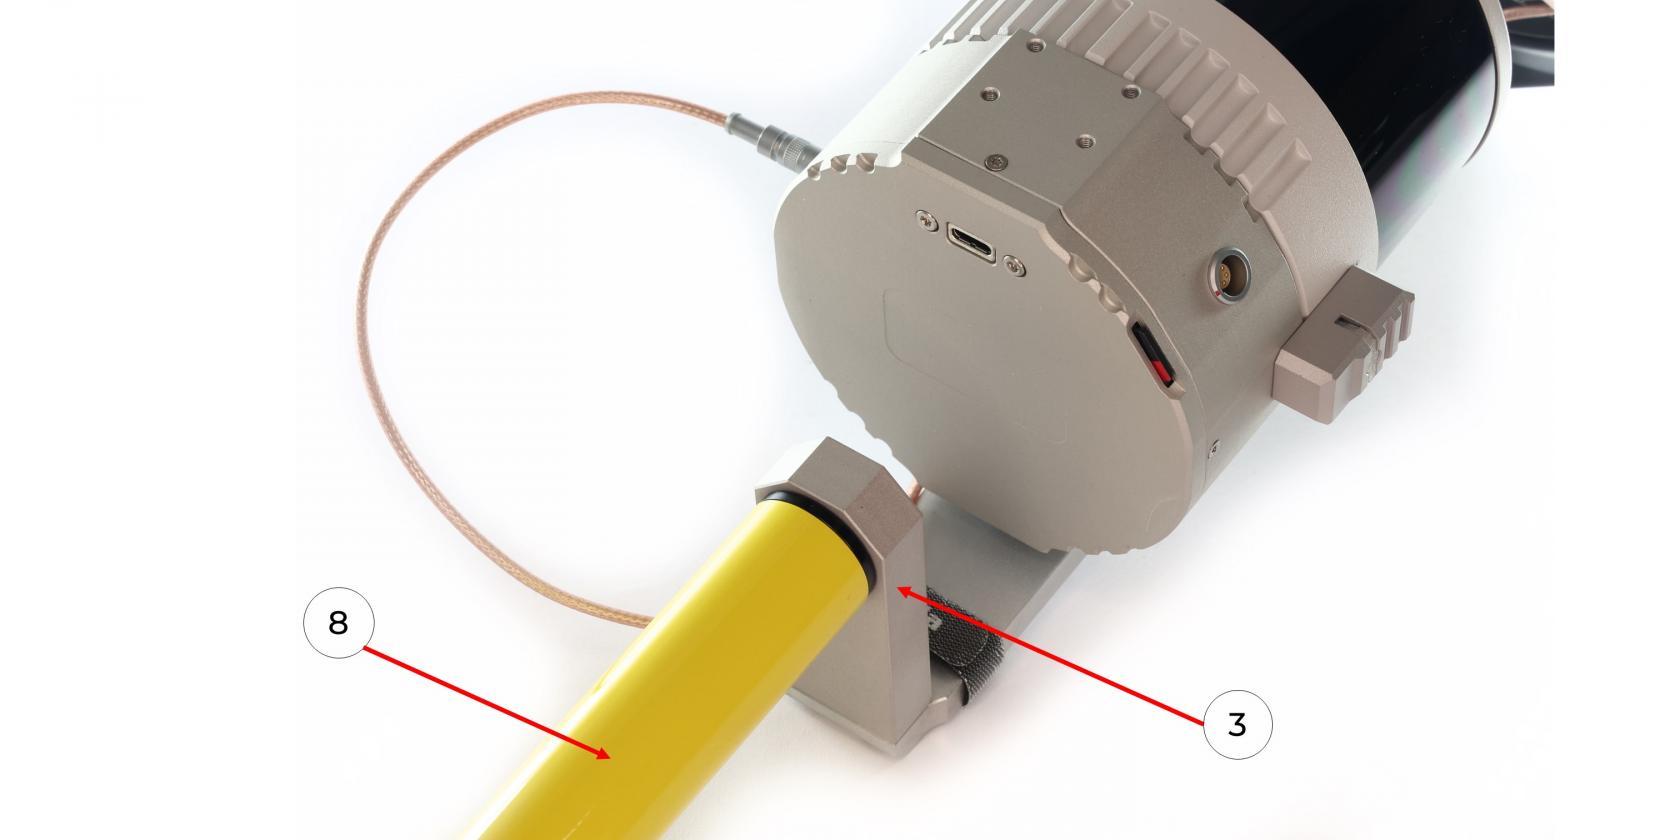
8\. Screw the pole **(8)** to the backpack attachment **(3)**.
[](https://knowledge.topodrone.ru/uploads/images/gallery/2024-10/8.jpg)
9\. Screw the pole **(8)** to the backpack **(2)** as shown in the photo. The LED of the TOPODRONE LiDAR should be positioned backwards.
[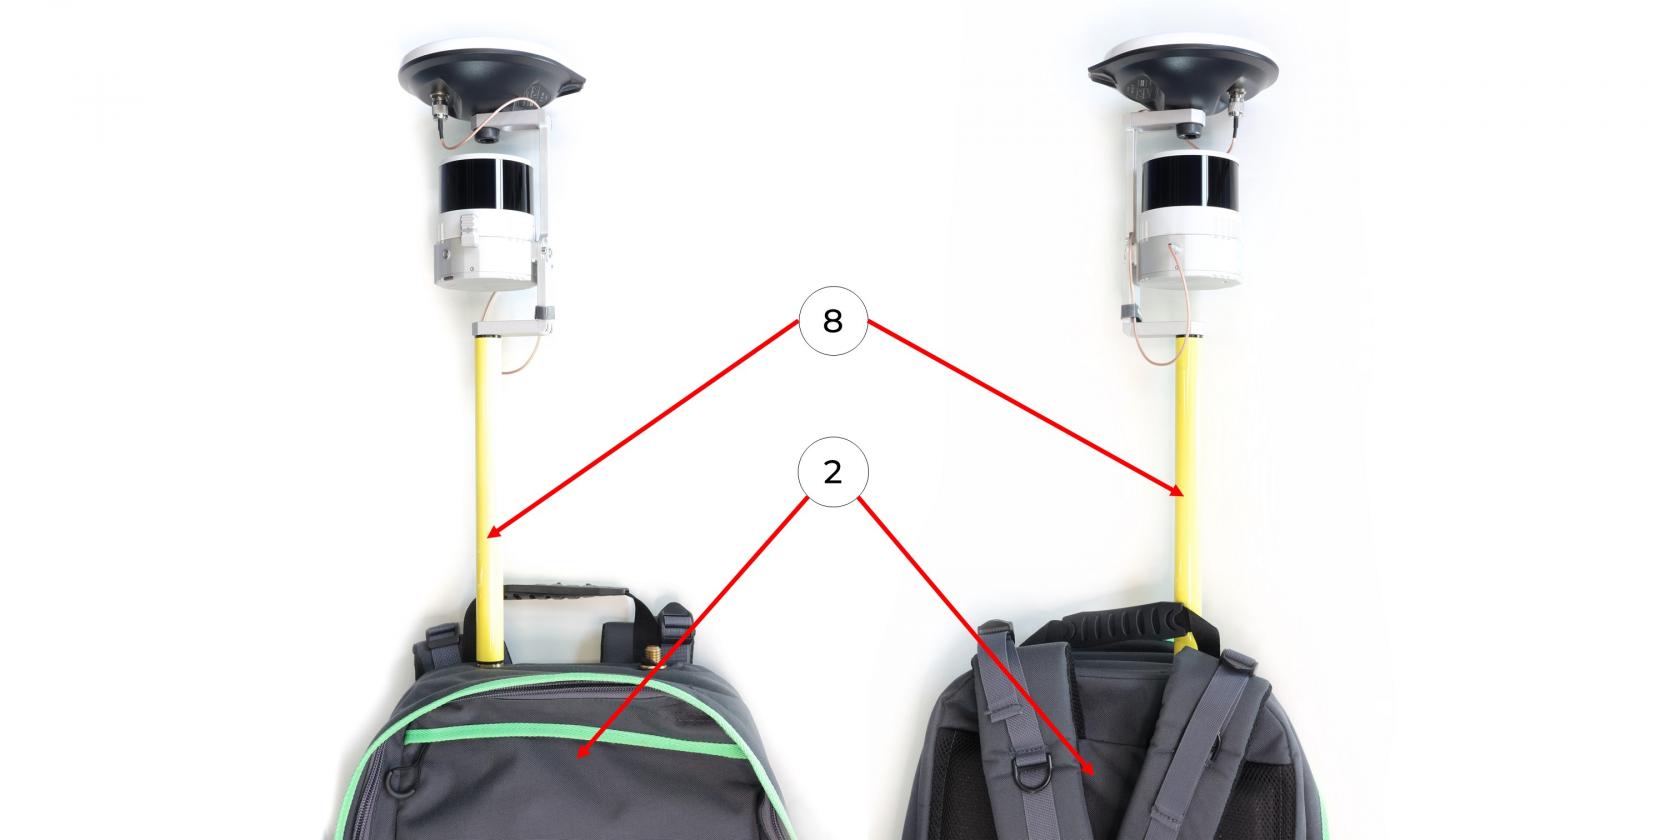](https://knowledge.topodrone.ru/uploads/images/gallery/2024-10/9.jpg)
10\. Connect the LEMO 6 PIN to USB Type-C power cable **(7)** to the TOPODRONE LiDAR **(1)**.
[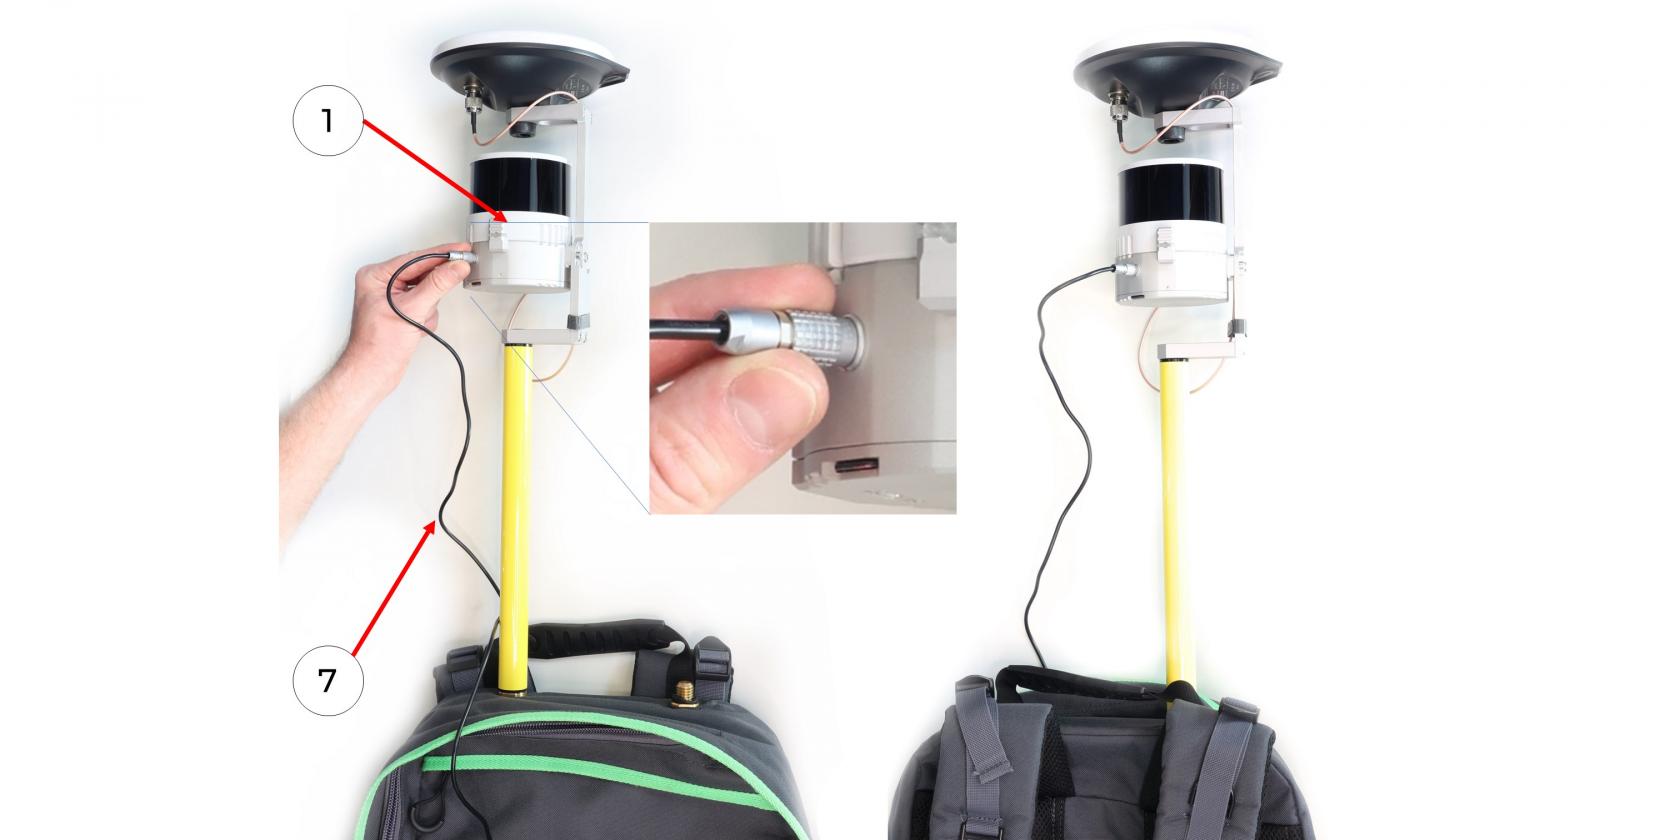](https://knowledge.topodrone.ru/uploads/images/gallery/2024-10/10.jpg)
11\. Connect the LEMO 6 PIN to USB Type-C power cable **(7)** to the Power Bank **(6)** and apply power.
[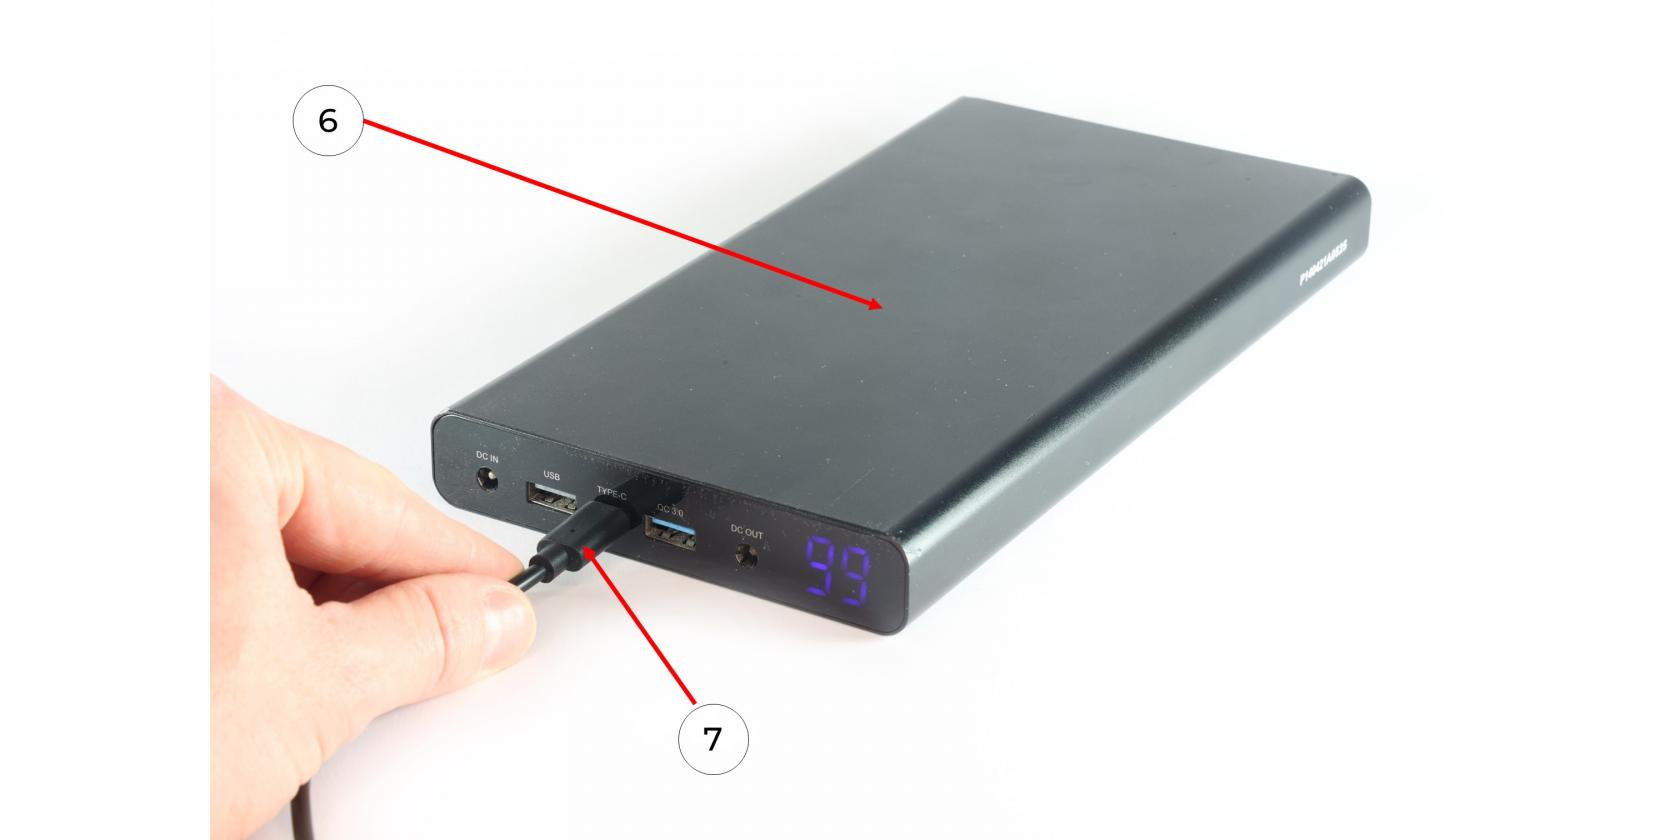](https://knowledge.topodrone.ru/uploads/images/gallery/2024-10/11.jpg)
12\. Put the Power Bank **(6)** into the backpack pocket **(2)** and wait for the[ TOPODRONE LiDAR **(1)** to turn on and initialize](https://knowledge.topodrone.com/books/topodrone-100100200/page/switching-on-and-initializing-the-topodrone-lidar). Next - put on the backpack as shown in the photo and start the MLS.
| [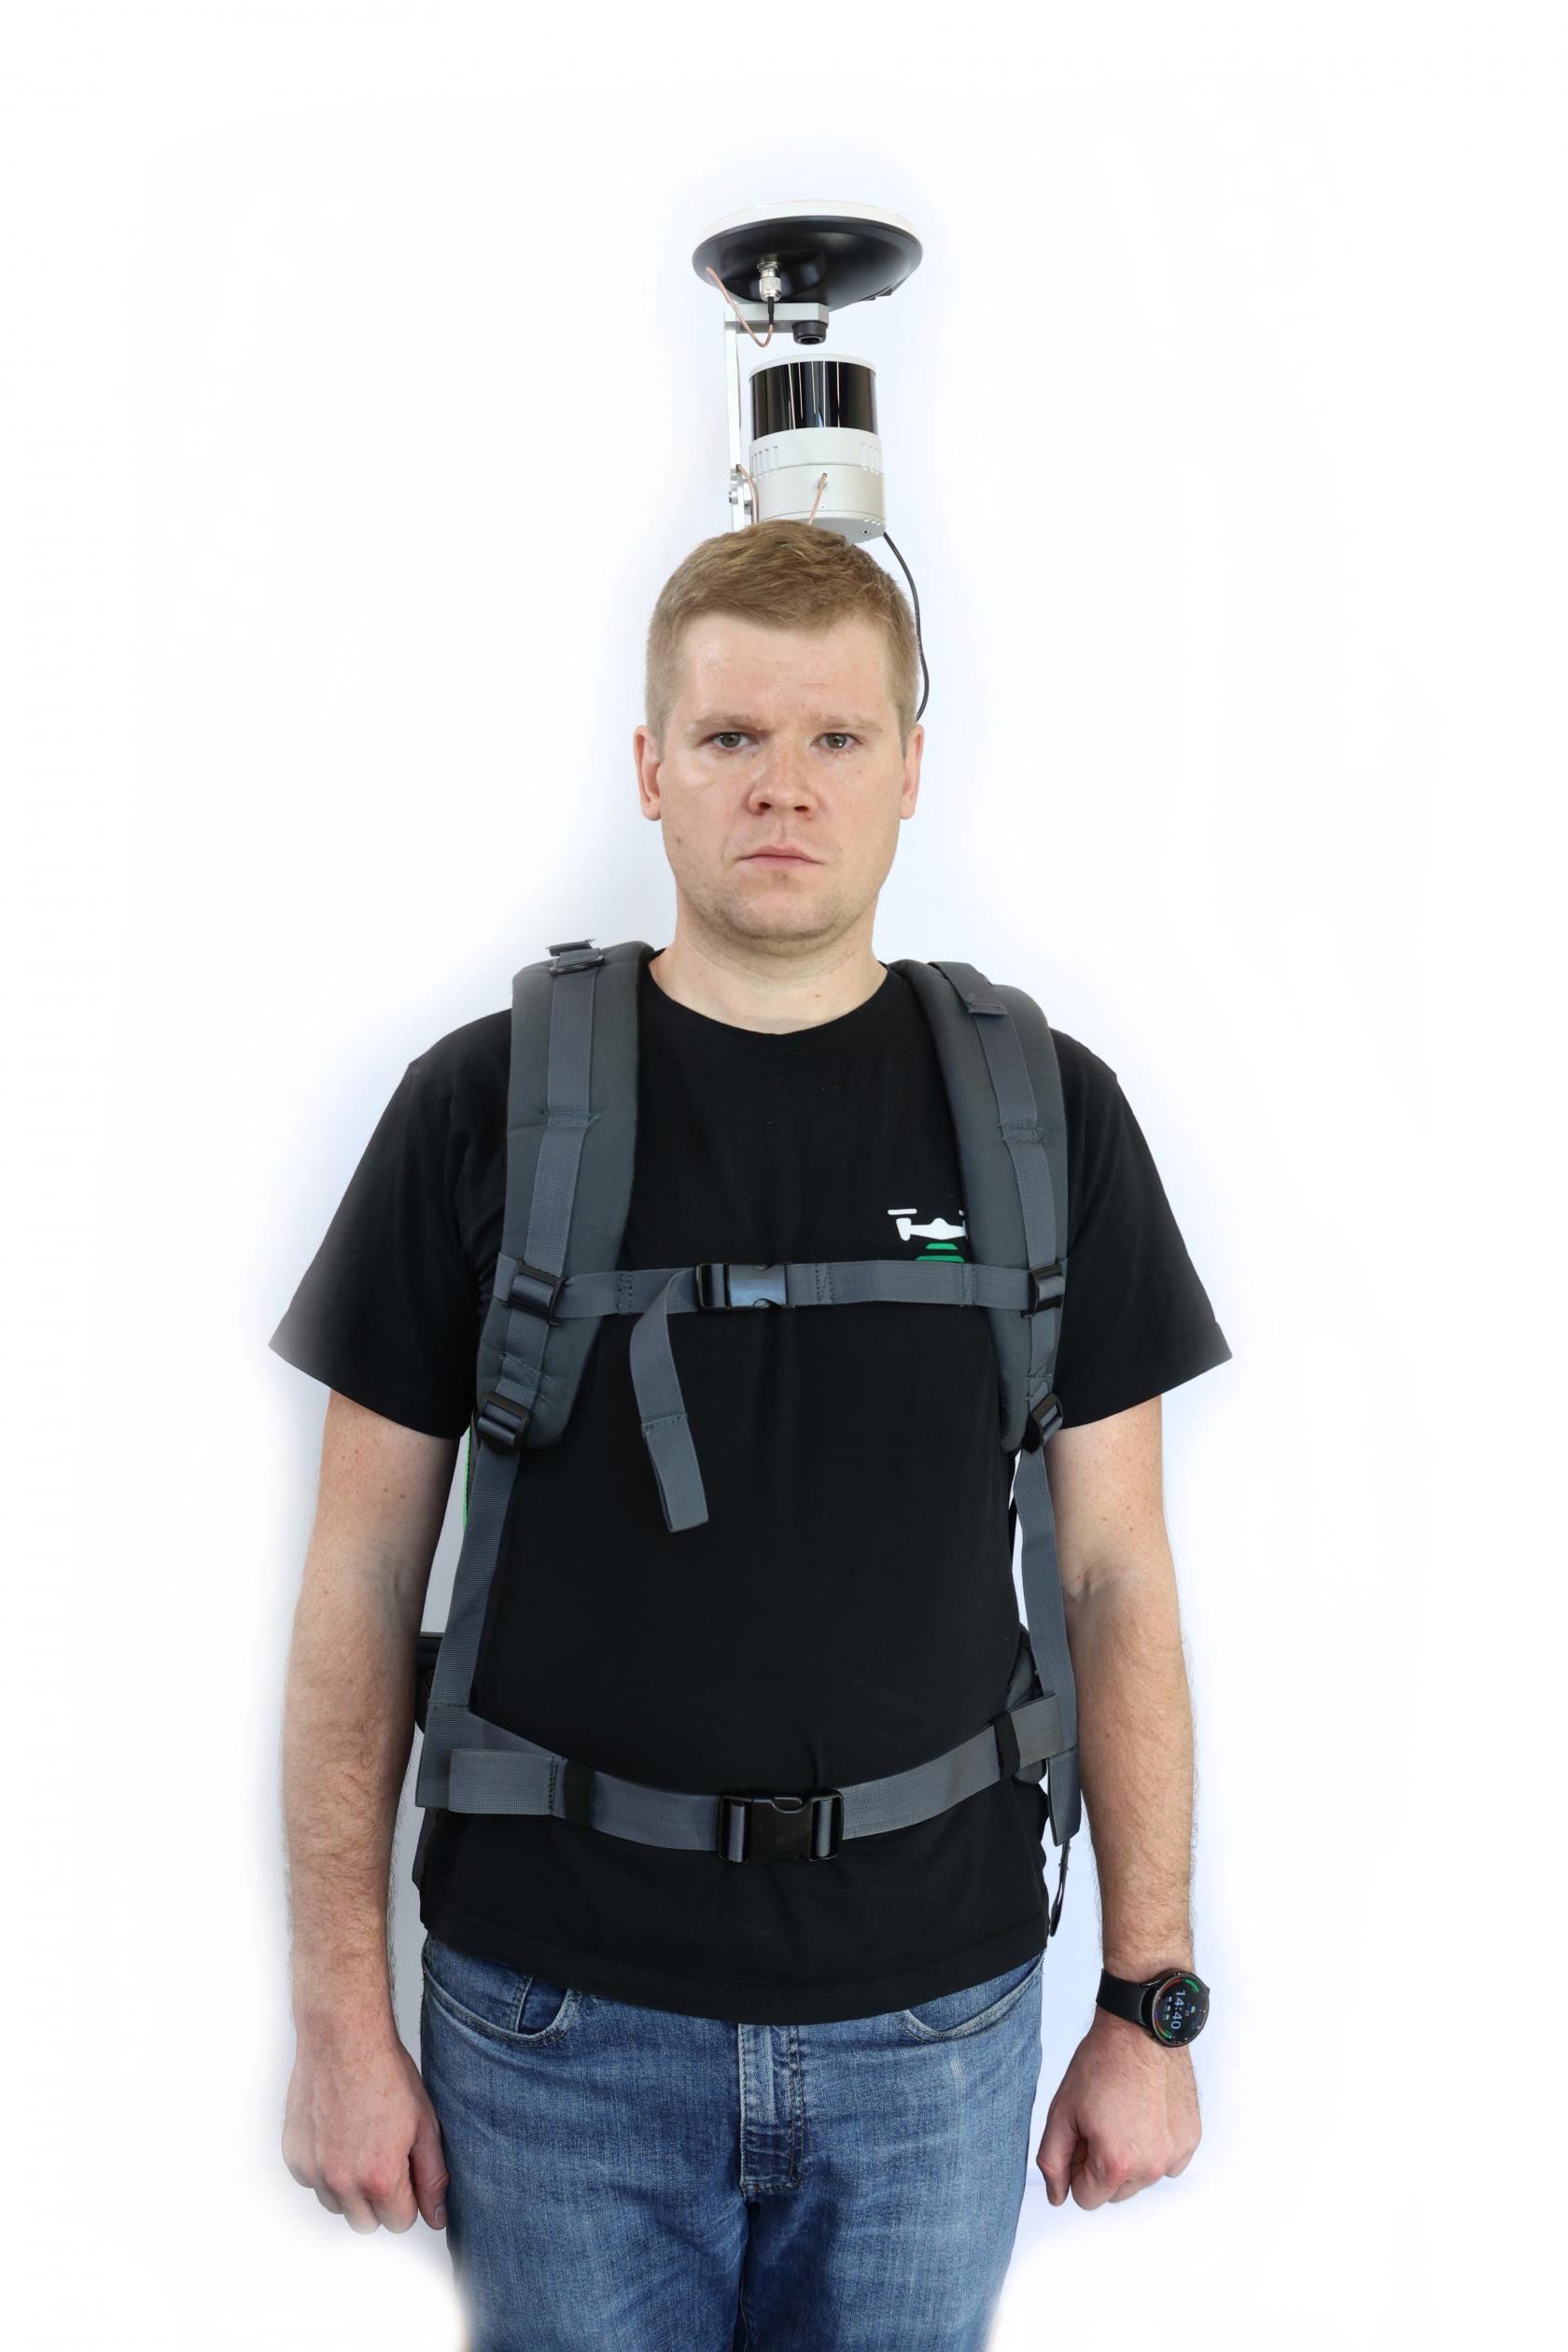](https://knowledge.topodrone.ru/uploads/images/gallery/2024-10/kh1143a9405.JPG)
| [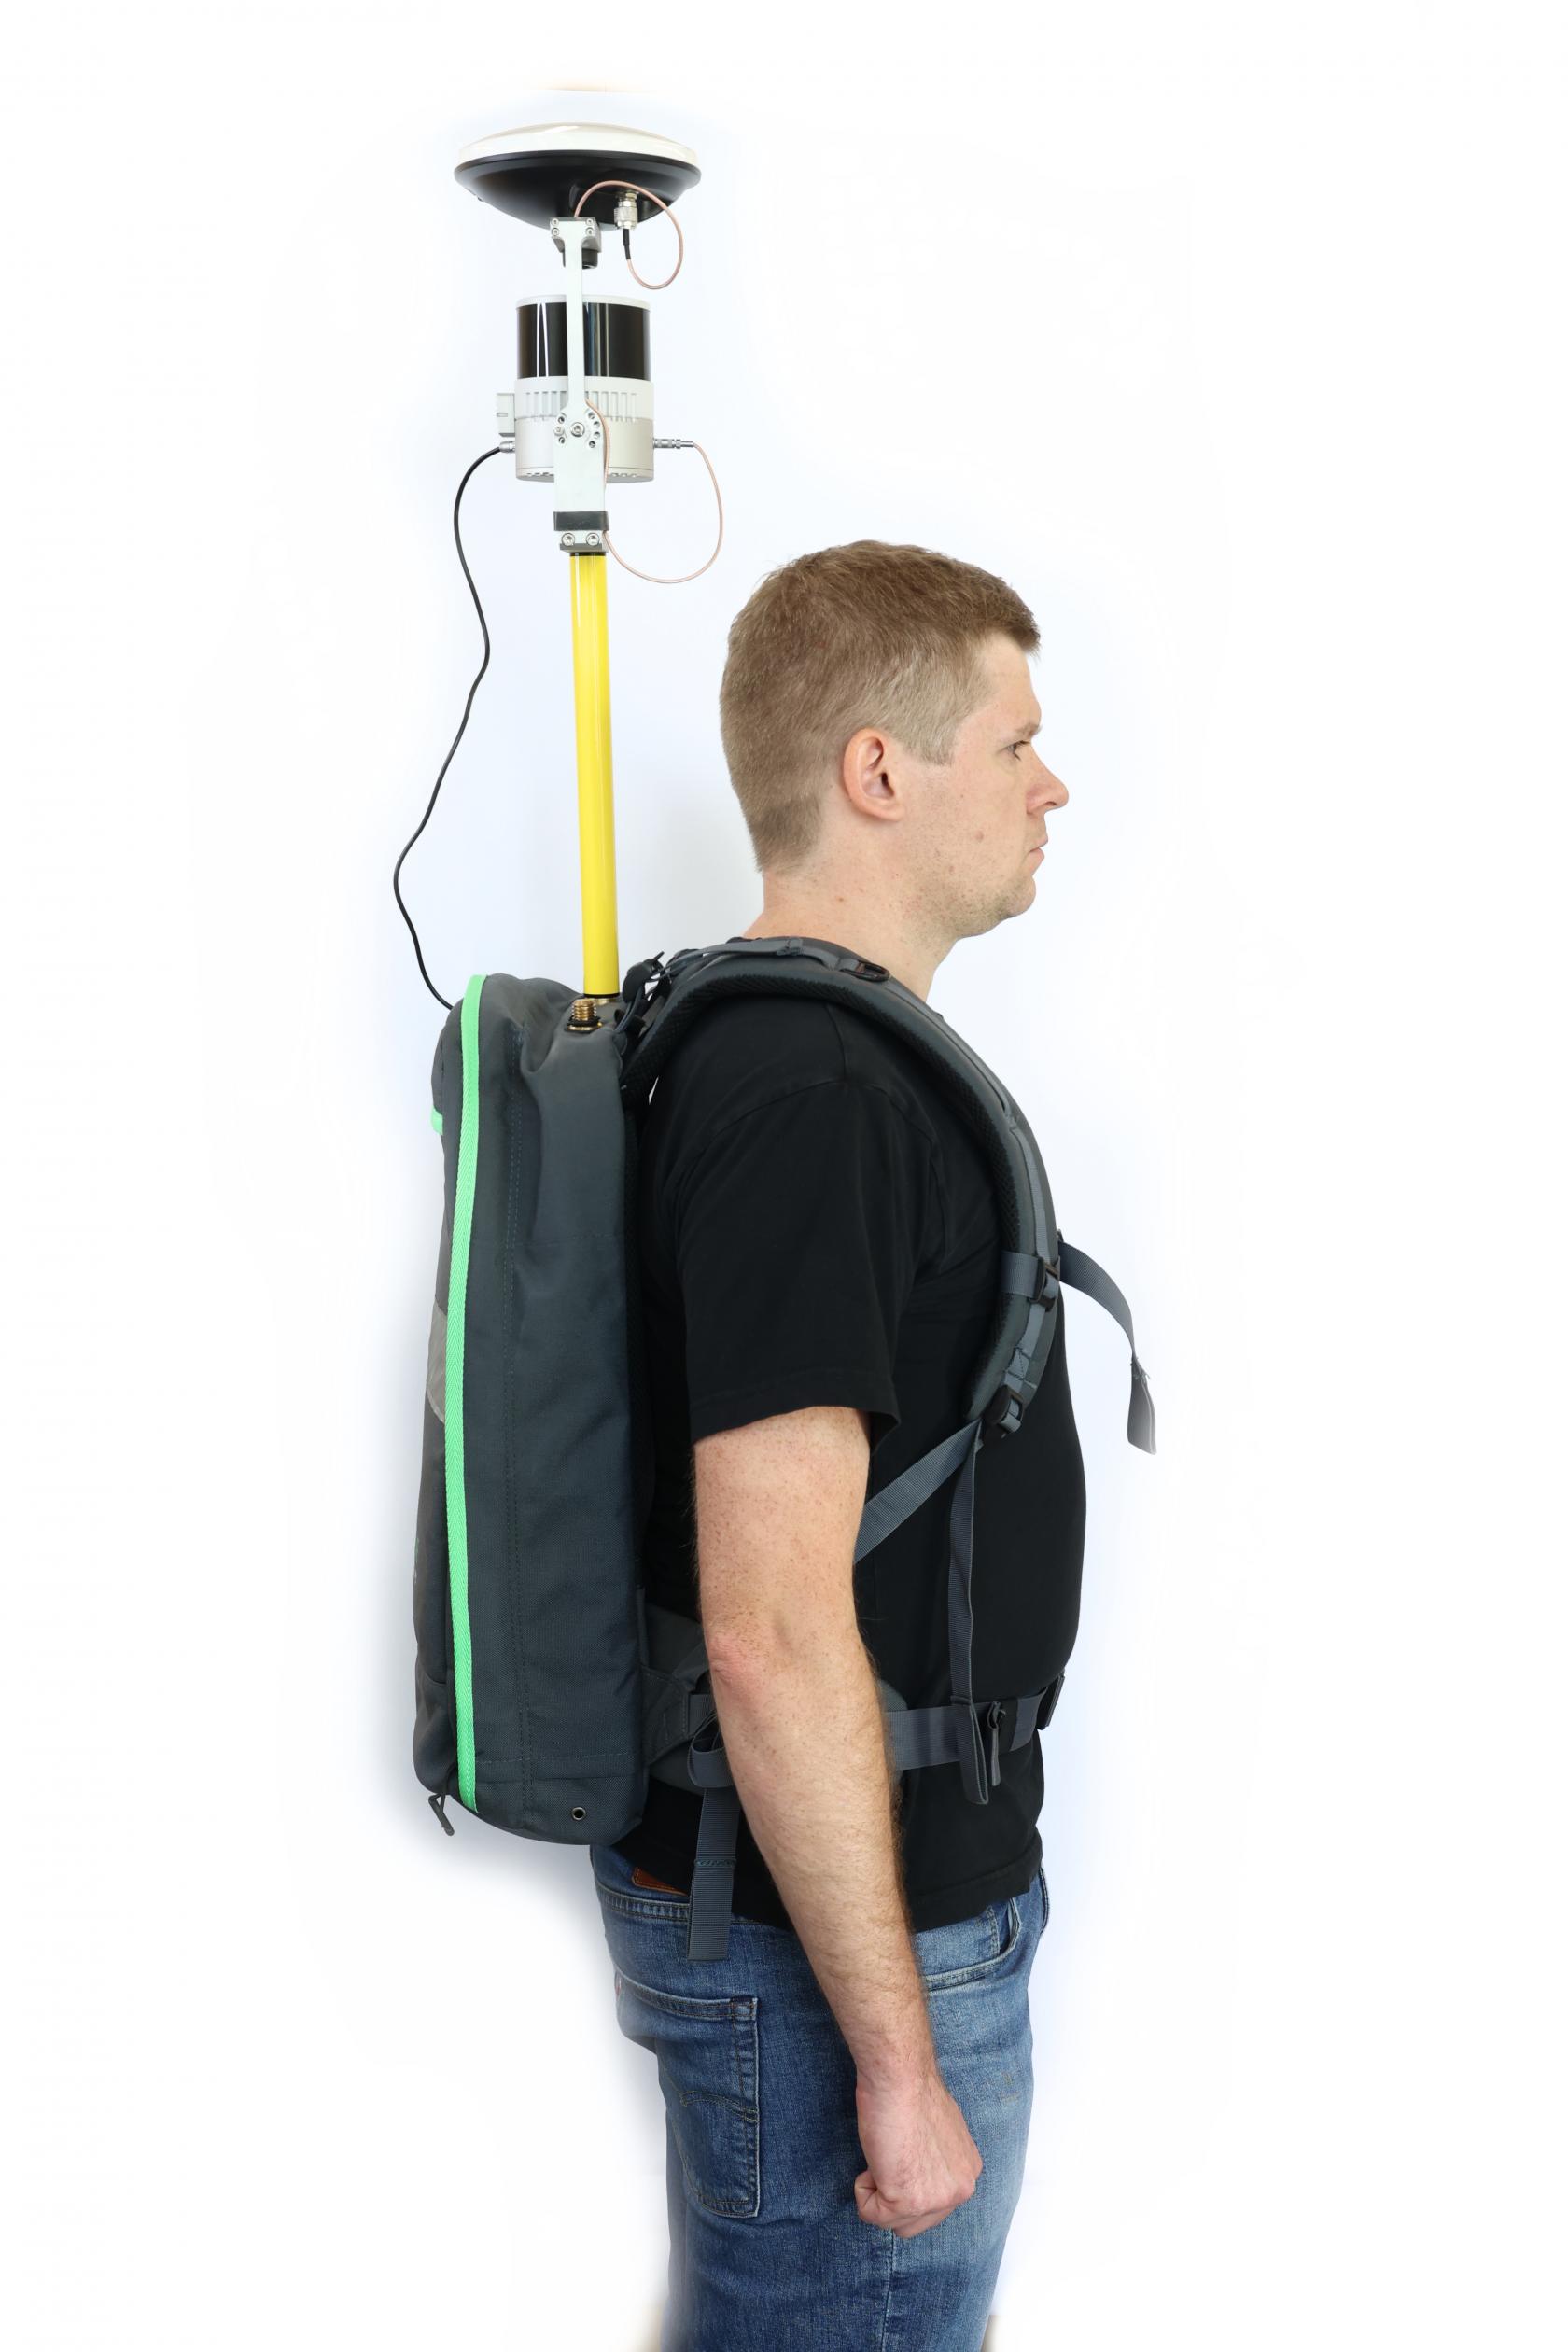](https://knowledge.topodrone.ru/uploads/images/gallery/2024-10/143a9406.JPG)
|