
Installing TOPODRONE laser scanner on DJI M300
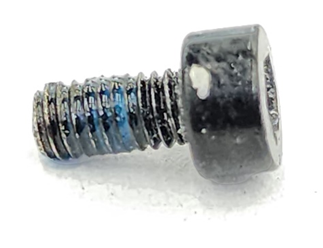
The following components and tools will be required for installation:
|
Version 1, powered by SkyPort connector 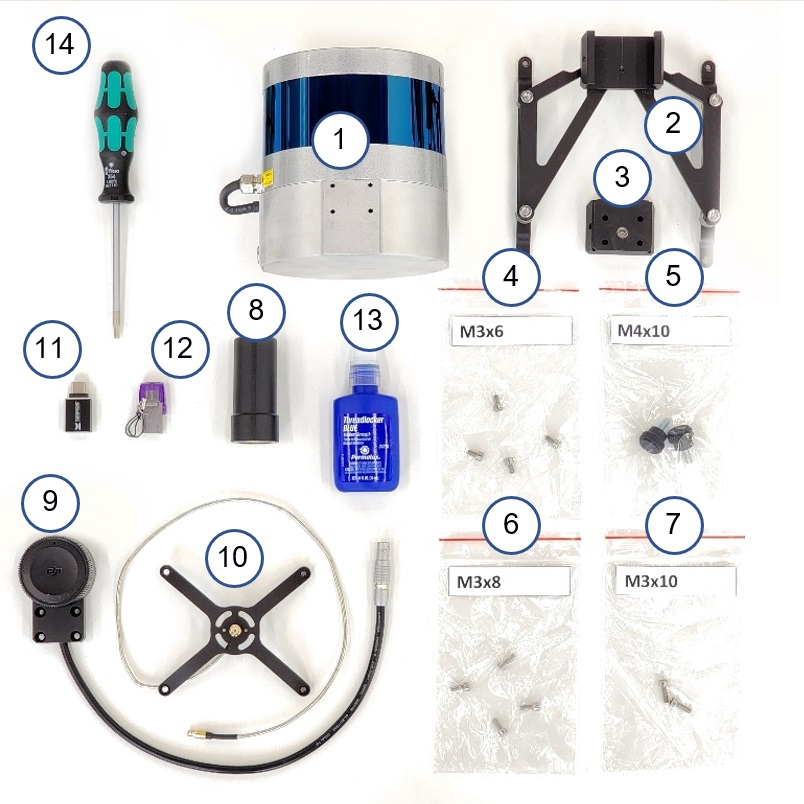
|
Version 2, powered by Type-C connector 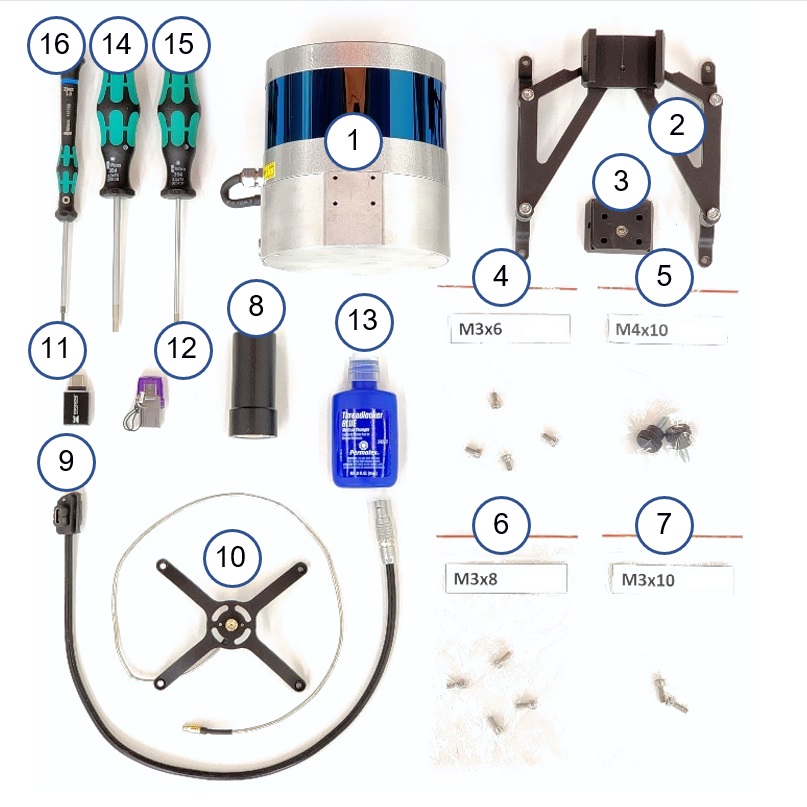
|
- Not included with the TOPODRONE laser scanner.
|
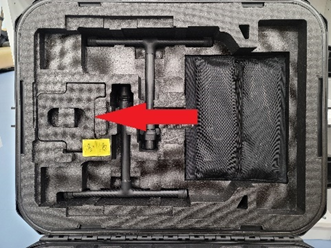
Step 1. Remove the polyurethane lodgement base of the drone from the case |
Step 2: Install the polyurethane lodgement harness on the drone |
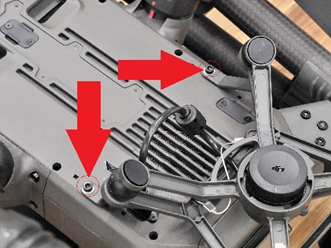
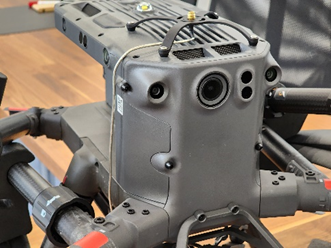
Step 3: Turn the DJI M300 drone upside down |
|
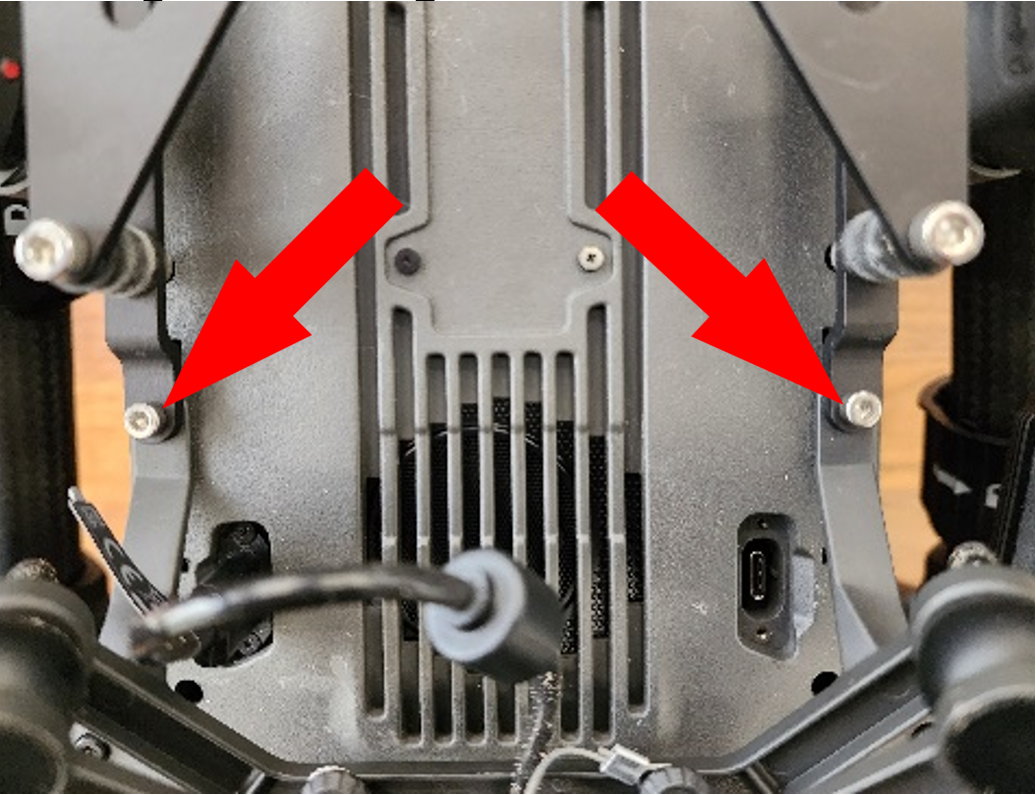
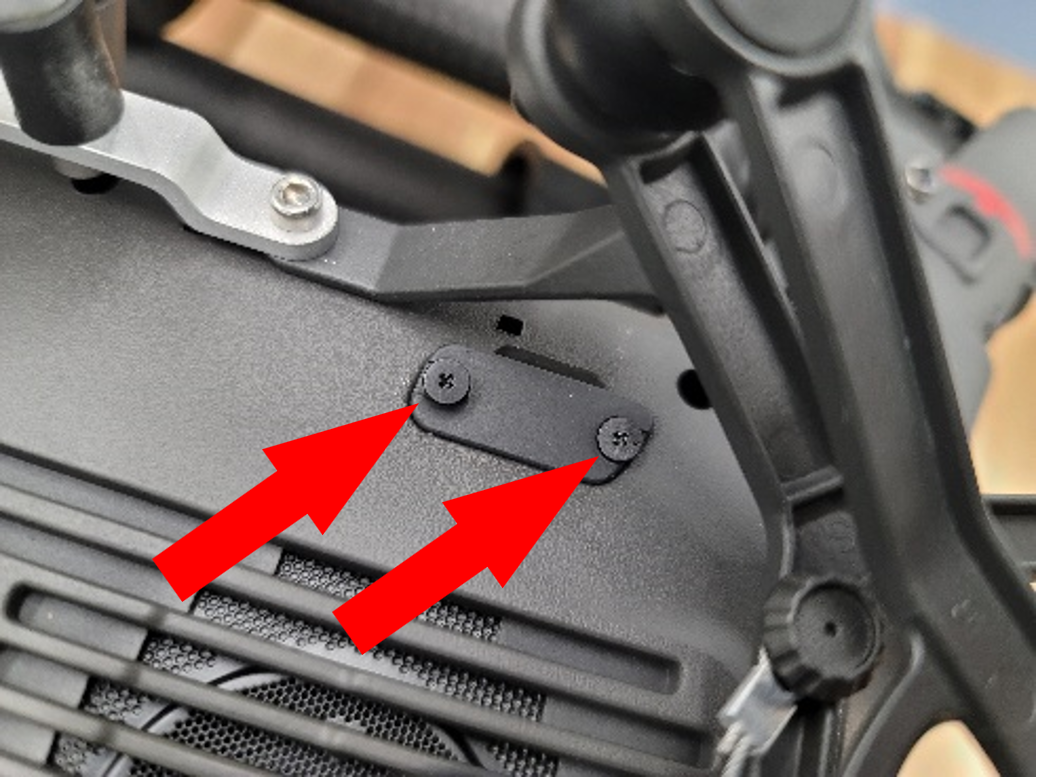
Step 4. Remove the two black screws with a Hex 2.5mm screwdriver and set them aside |
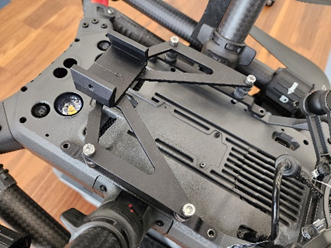
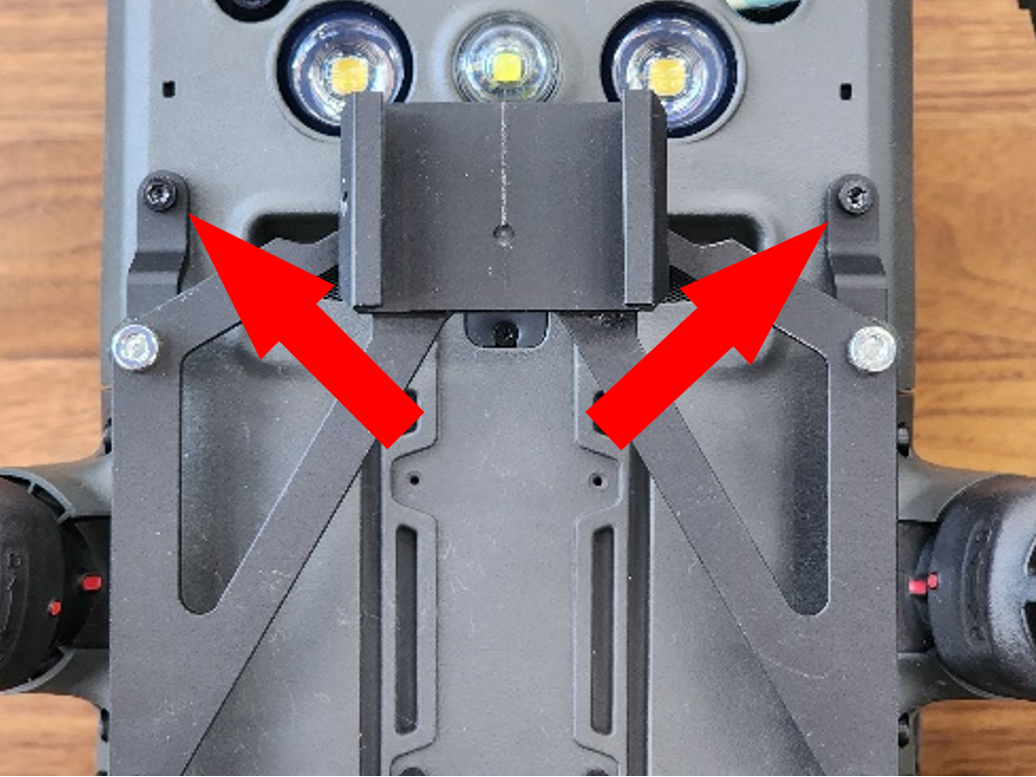
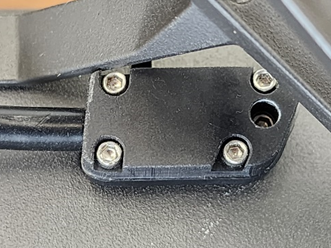
Step 5: Install the mounting pad on the drone`s bottom |
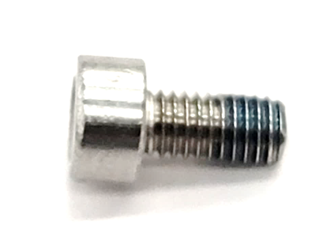
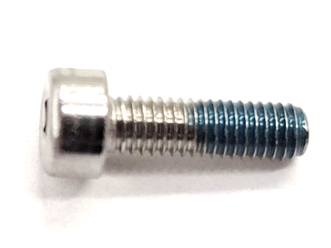
Step 6: Screw in the 2 M3 x 10 screws with a 2.5 mm Hex screwdriver. |
|
Important! Use thread locker for this step! Tighten the screws firmly when installing. |
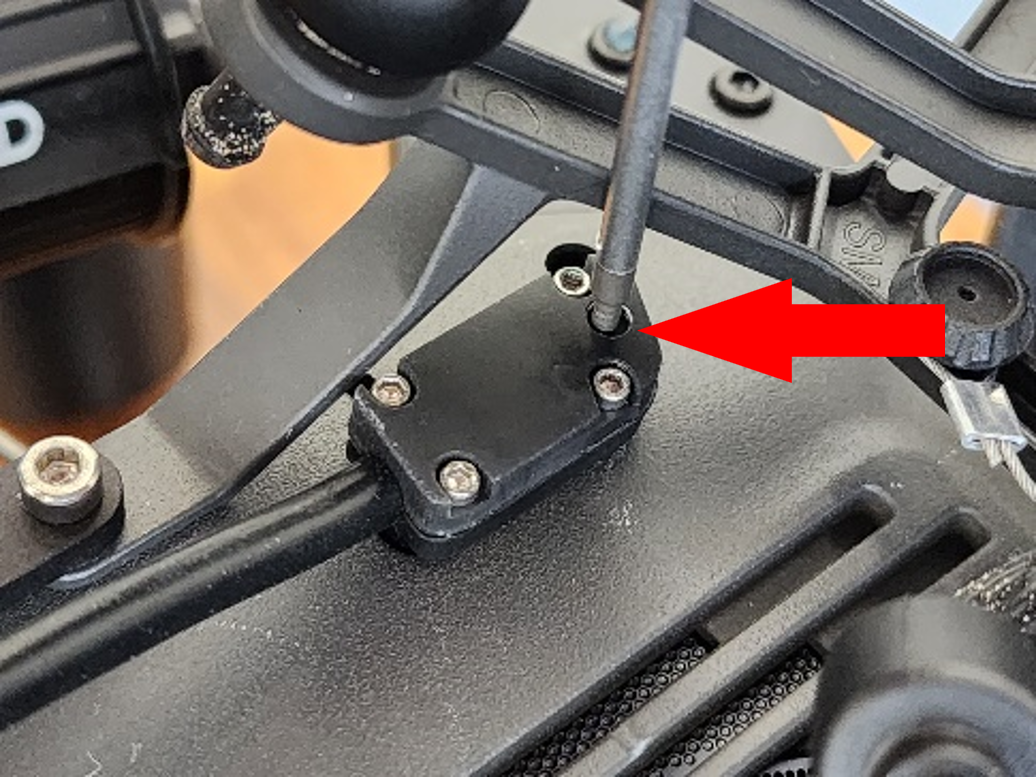
Step 7: Using a Hex 2.5mm screwdriver, screw in the 2 black screws from step 4 |
Important! Use thread locker for this step! Tighten the screws firmly when installing. |
|
Step 8. (Version.1). Remove the cover from the SkyPort connector of the LEMO 6 PIN to SkyPort cable |
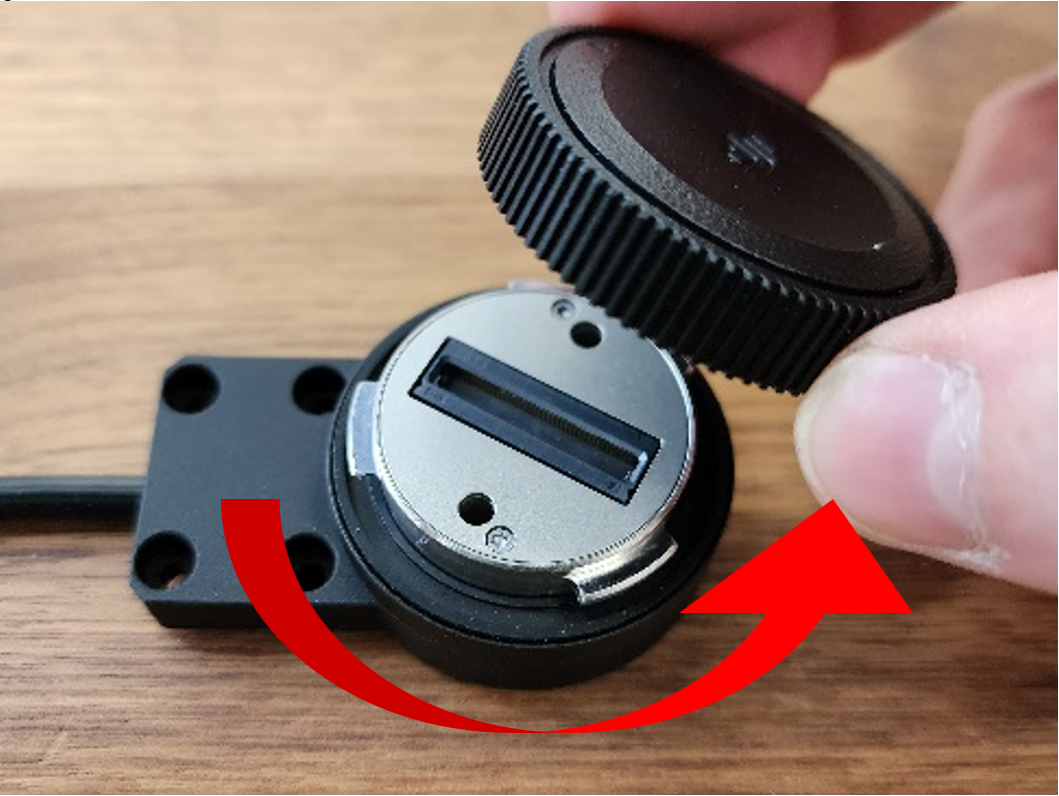
Step 9. (Version 1). Remove the cover from the drone's SkyPort connector |
Step 10. (Version 1). Connect the cable to the SkyPort connector of the drone |
|
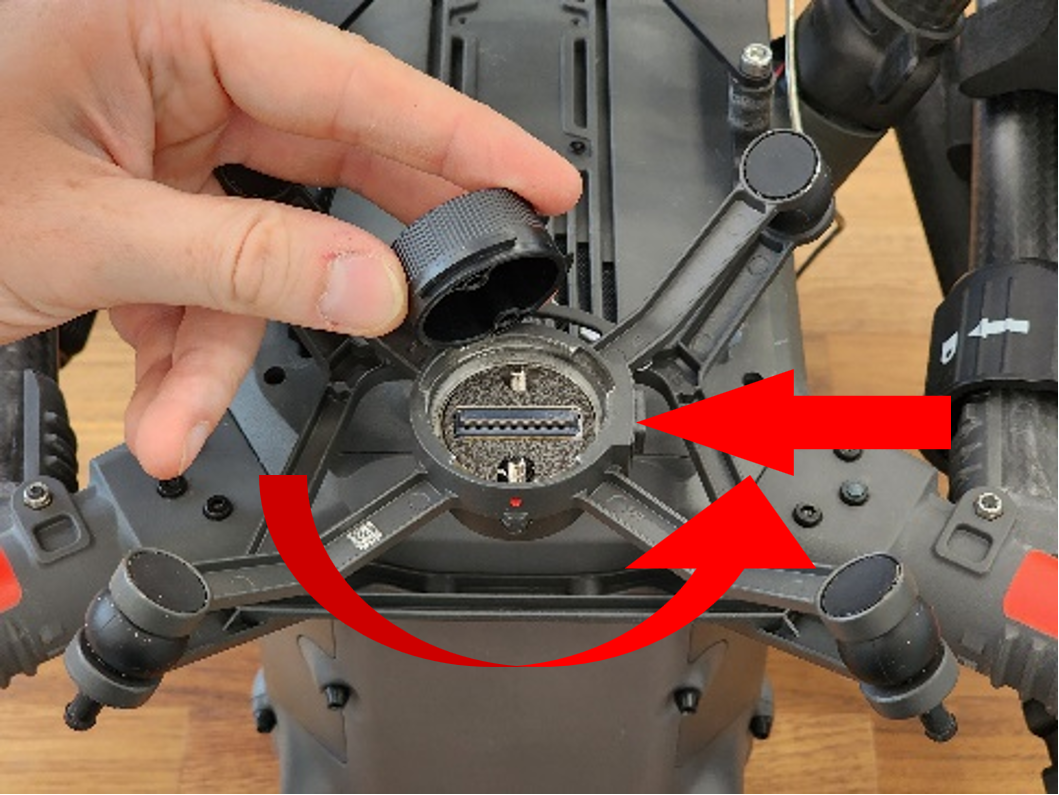
Step 8. (Version.2). Remove the 2 screws of the USB Type-C cover with a Phillips screwdriver |
Step 9 (Version 2). Install the USB Type-C connector of the cable into the drone, following the key pattern |
Step 10 (Version 2). Using a 1.5 mm hex screwdriver, tighten the retaining screw |
|
Step 11. Turn the DJI M300 RTK upside down and remove the polyurethane lodgement |
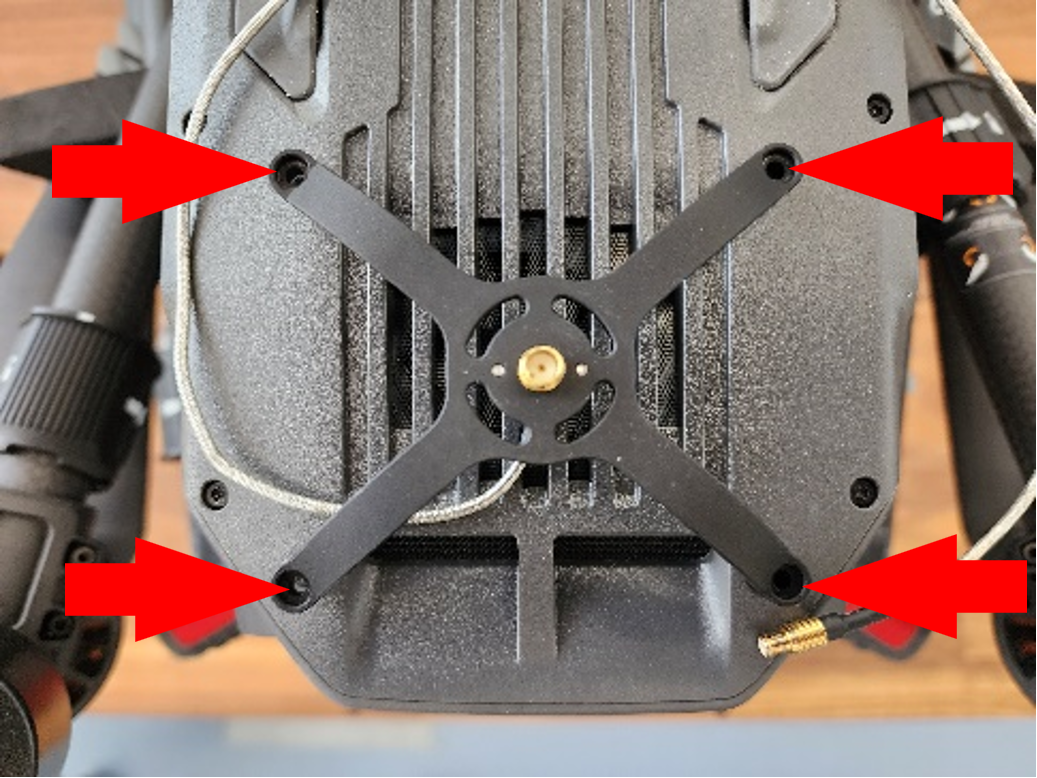
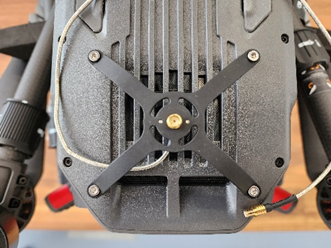
Step 12: Install the antenna spider mount to the top of the drone |
Step 13. Secure the mount using M3x6 screws and a Hex 2.5 mm screwdriver. |
|
Important! Use thread locker for this step! Tighten the screws firmly when installing. |
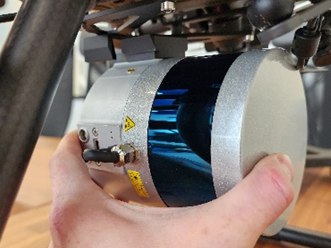
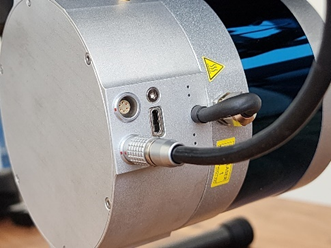
Step 14. Route the cable along the enclosure as shown in the photo |
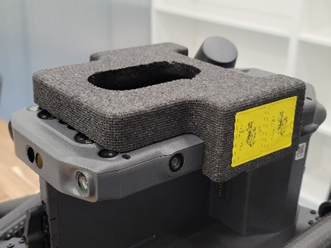
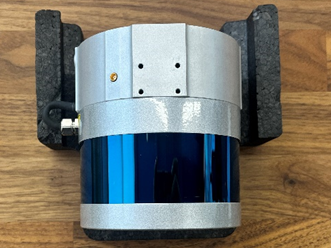
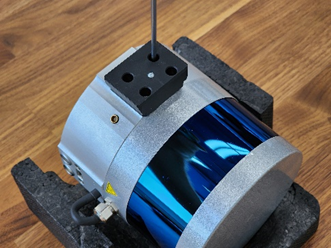
Step 15: Place the TOPODRONE laser scanner on the drone's polyurethane foam carrier, with the antenna connector on top of it |
|
Шаг 16. Установите крепление «ласточкин хвост» и закрутите винтами M3x8 при помощи отвертки |
Важно! Используйте фиксатор резьбы на этом шаге! Плотно закручивайте винты при установке. |
Шаг 17. Установите лазерный сканер TOPODRONE на быстросъёмное крепление |
|
Рекомендуется устанавливать лазерный сканер спереди – назад |
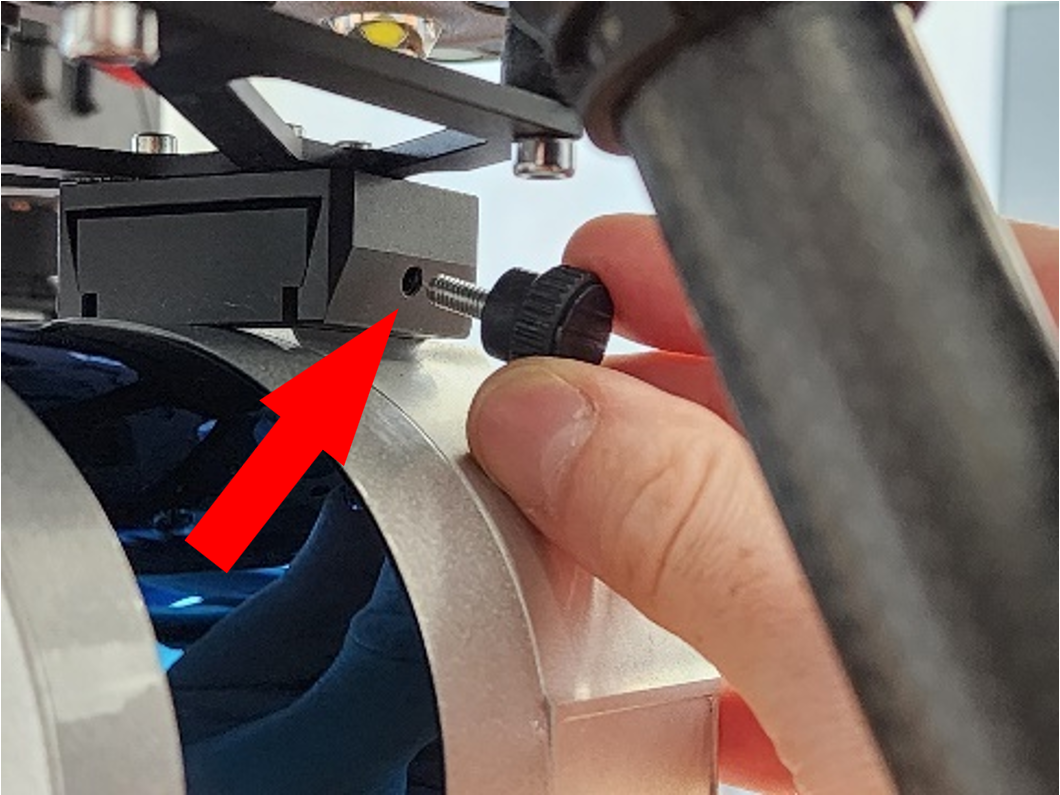
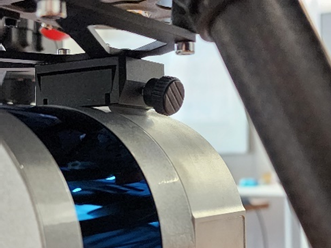
Шаг 18. Завинтите фиксирующий барашковый винт |
Шаг 19. Винт должен быть закручен плотно, но без чрезмерного усилия |
|
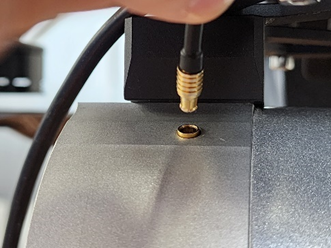
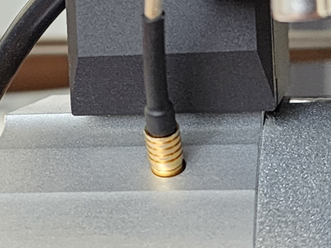
Шаг 20. Подключите антенный разъём к лазерному сканеру |
После подключения антенного разъема он должен выглядеть как на фото |
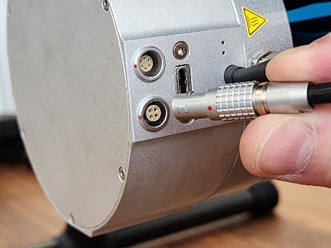
Шаг 21. Подключите разъем питания LEMO в соответствующий порт. |
|
После подключения разъема питания он должен выглядеть как на фото |
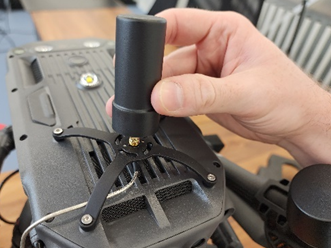
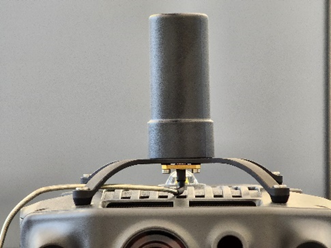
Шаг 22. Навинтите GNSS антенну на разъем крепления типа «паук» |
GNSS антенна должна быть закручена плотно, но без чрезмерного усилия |
|
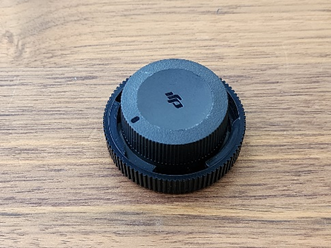
Шаг 23. Что бы не потерять защитные колпачки можно соединить их вместе |
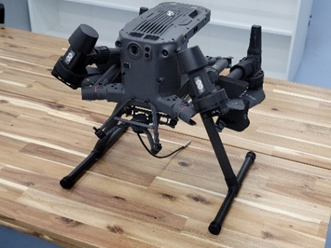
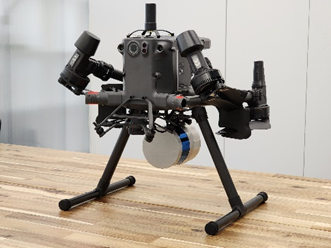
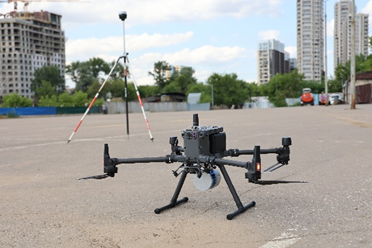
Шаг 28. Дрон в сборе с лазерным сканером TOPODRONE выглядит так |
Можно приступать к выполнению воздушного лазерного сканирования |


* Из-за частичного перекрытия датчиков, использование нижней системы визуального позиционирования при установленном лазерном сканере TOPODRONE не рекомендуется. Посадку дронов при проведении ВЛС рекомендуется выполнять в ручном режиме для уменьшения ударных воздействий на шасси и TOPODRONE при посадке. Производитель не несет ответственности за стабильность эксплуатации квадрокоптера DJI M300 RTK при включенных нижних сенсорах визуального позиционирования.