
Agisoft Metashape
The process of multispectral data processing in Agisoft Metashape software has much in common with classical photogrammetric processing. Below is a detailed description of this process.
1. Open Agisoft Metashape program and select the folder where the acquired multispectral data are stored.
2. In the program interface, select the “Multi-camera system” option for correct data processing.

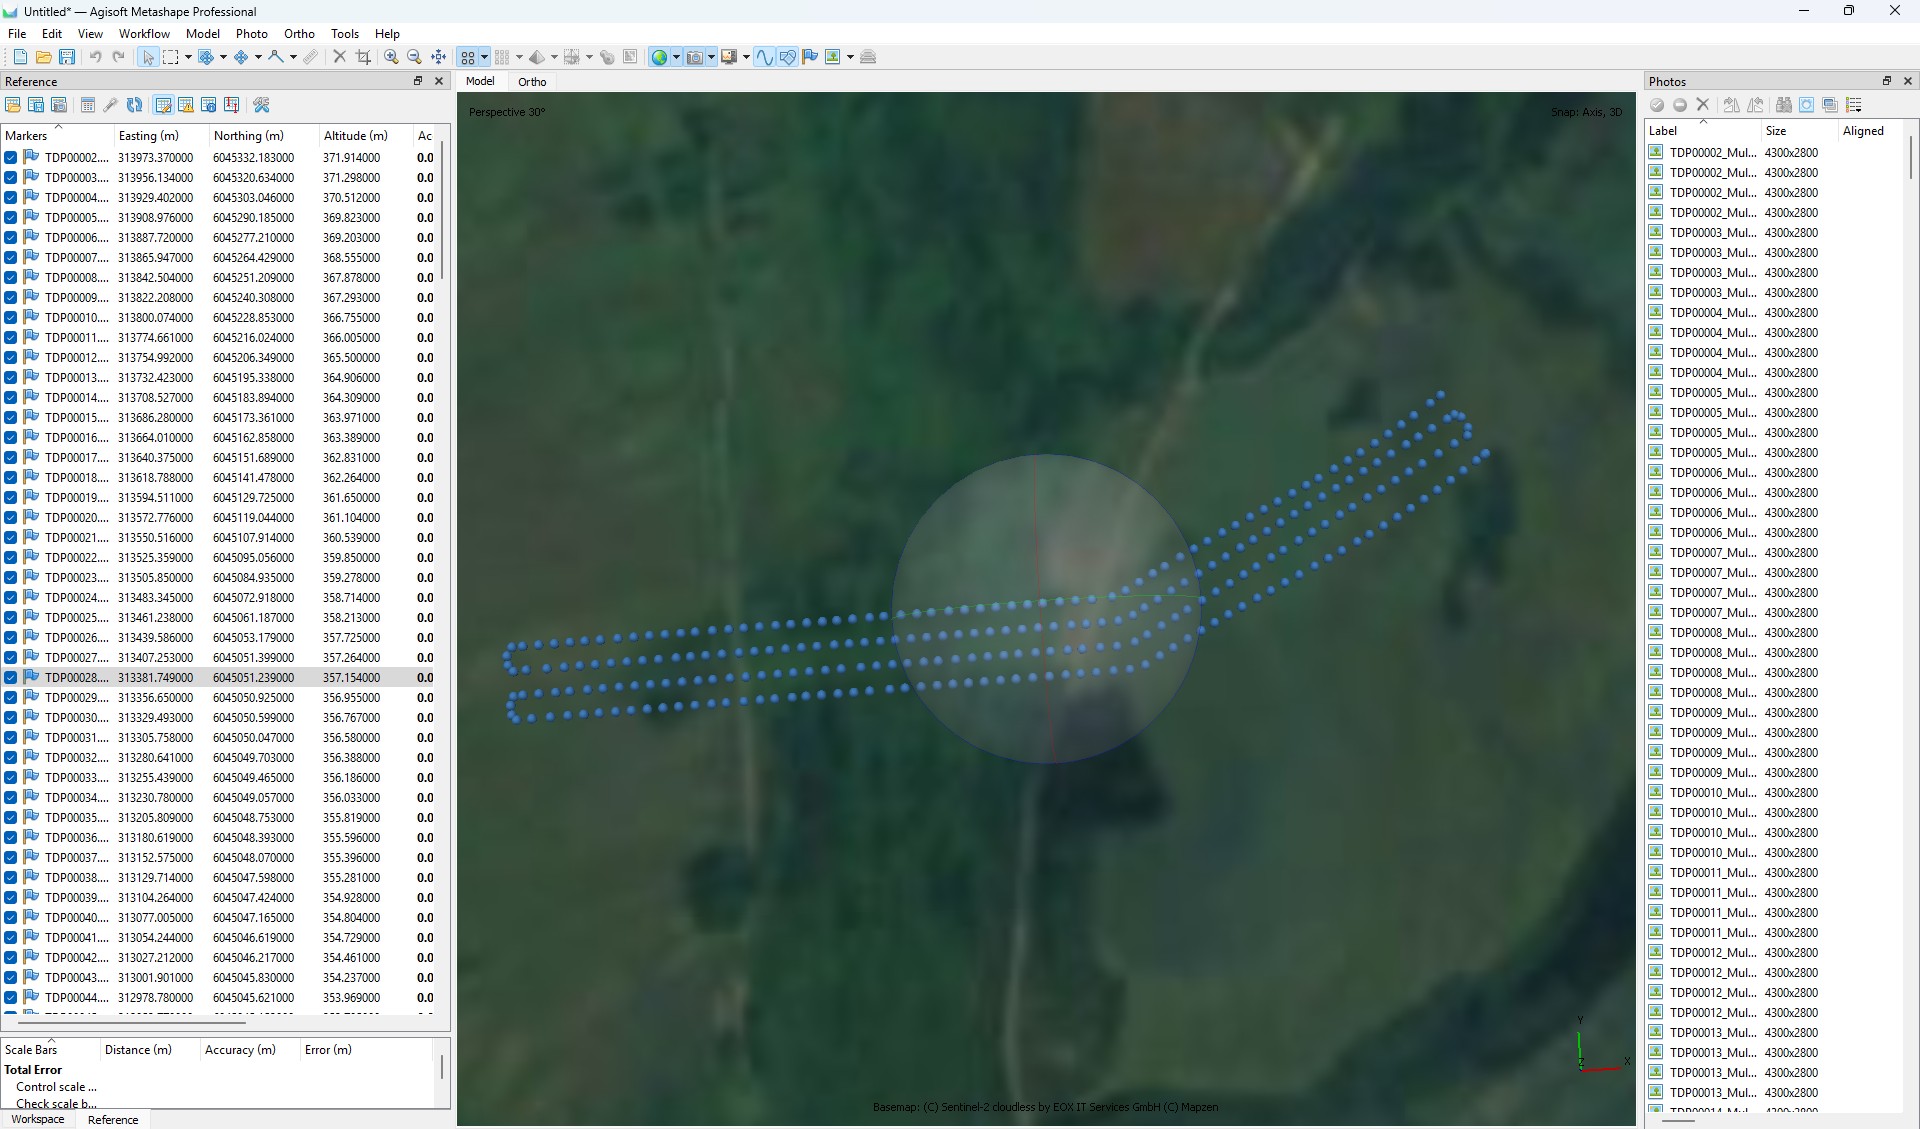
3. Open the Snap window and perform the following steps:
- Convert the photo centers to the local coordinate system;
- Set the coordinate accuracy according to the requirements of your task;
- Make sure that all cameras are correctly georeferenced to the local coordinate system.
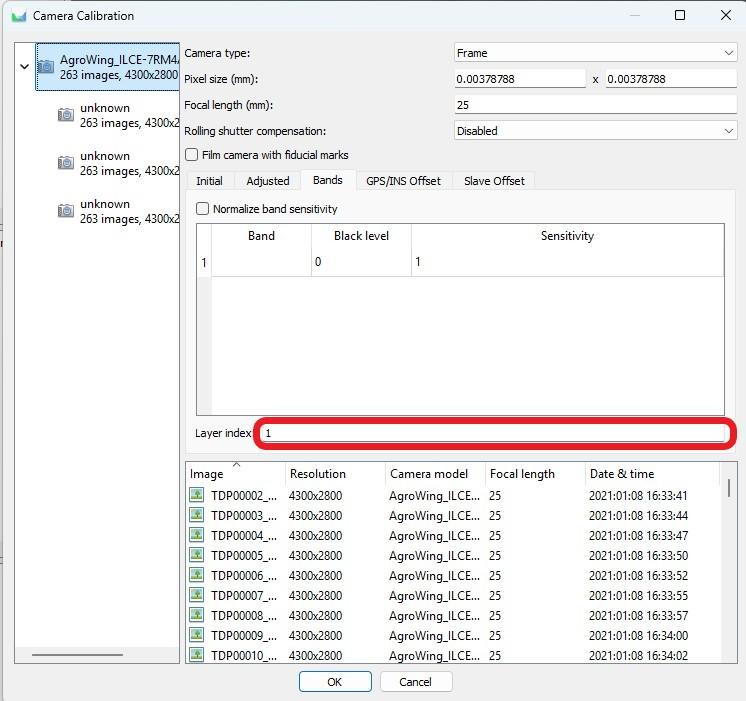
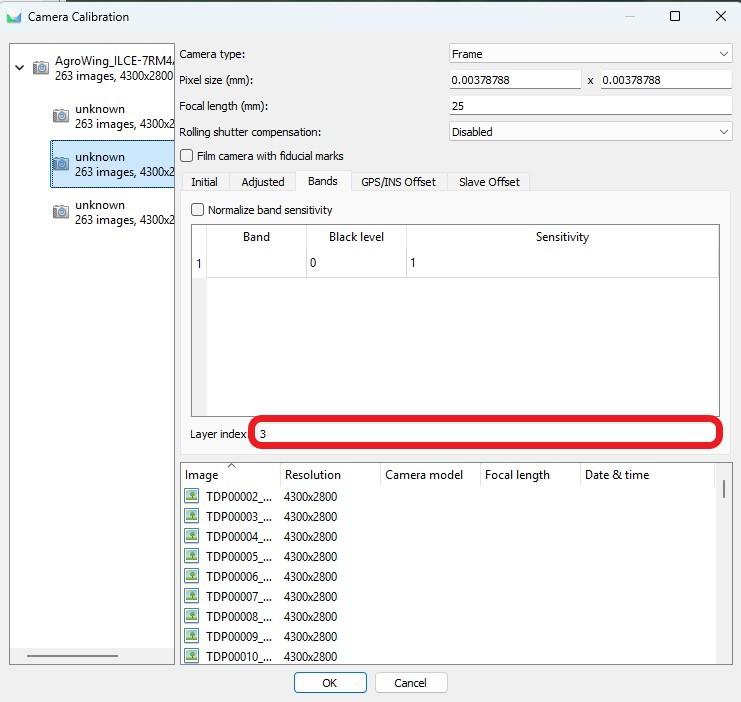
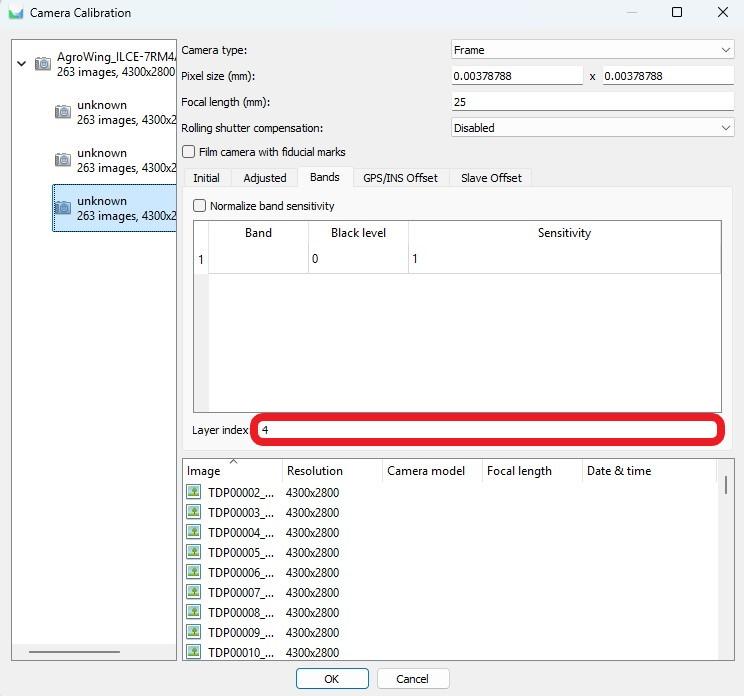
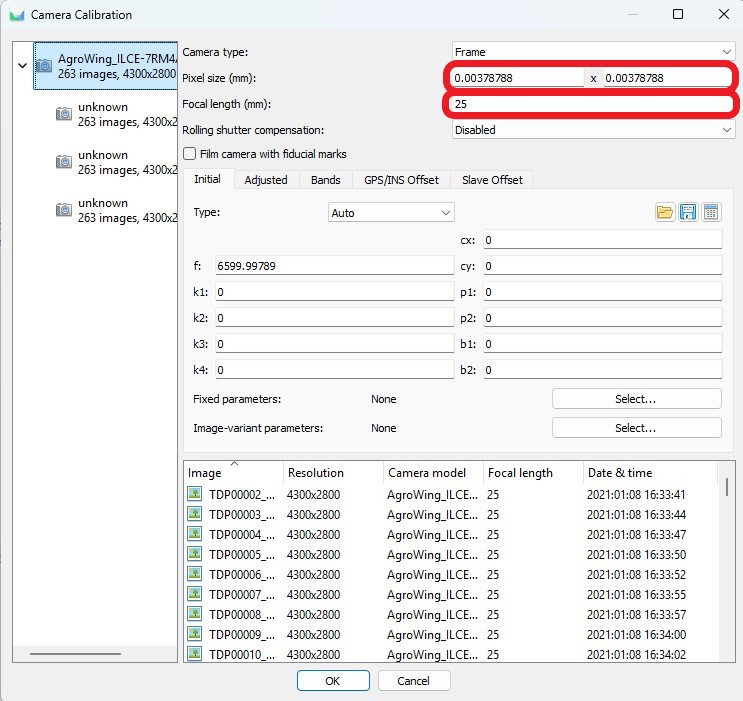
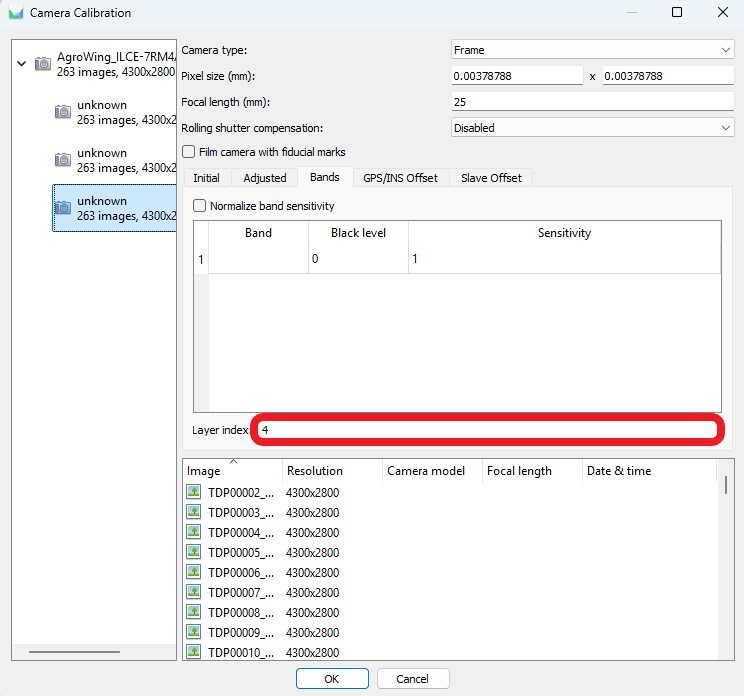
4. Go to “Camera Calibration” and follow the steps below:
- Set the physical pixel size and focal length;

- Set the sequence numbers of all multispectral channels.


5. When camera calibration is complete, perform the aerotriangulation process. This process includes:
- Create tie points based on the data from the cameras;
- Defining and refining aerotriangulation parameters to improve model accuracy.

After the aerotriangulation stage you can filter points based on the selected parameter using the “Model” tab, “Smooth selection” item.
6. Open the “Bounding” window and perform the following actions:
- Import control points in the project coordinate system;
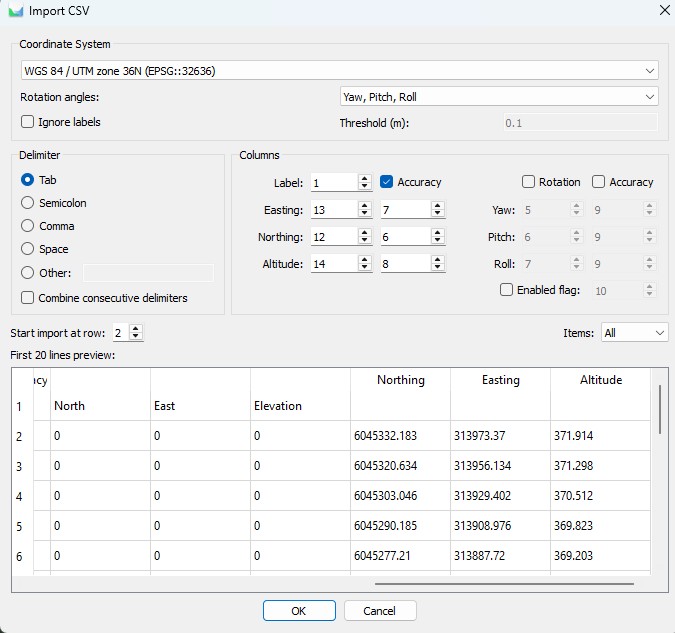
- Perform control point measurements on at least 6-9 images.
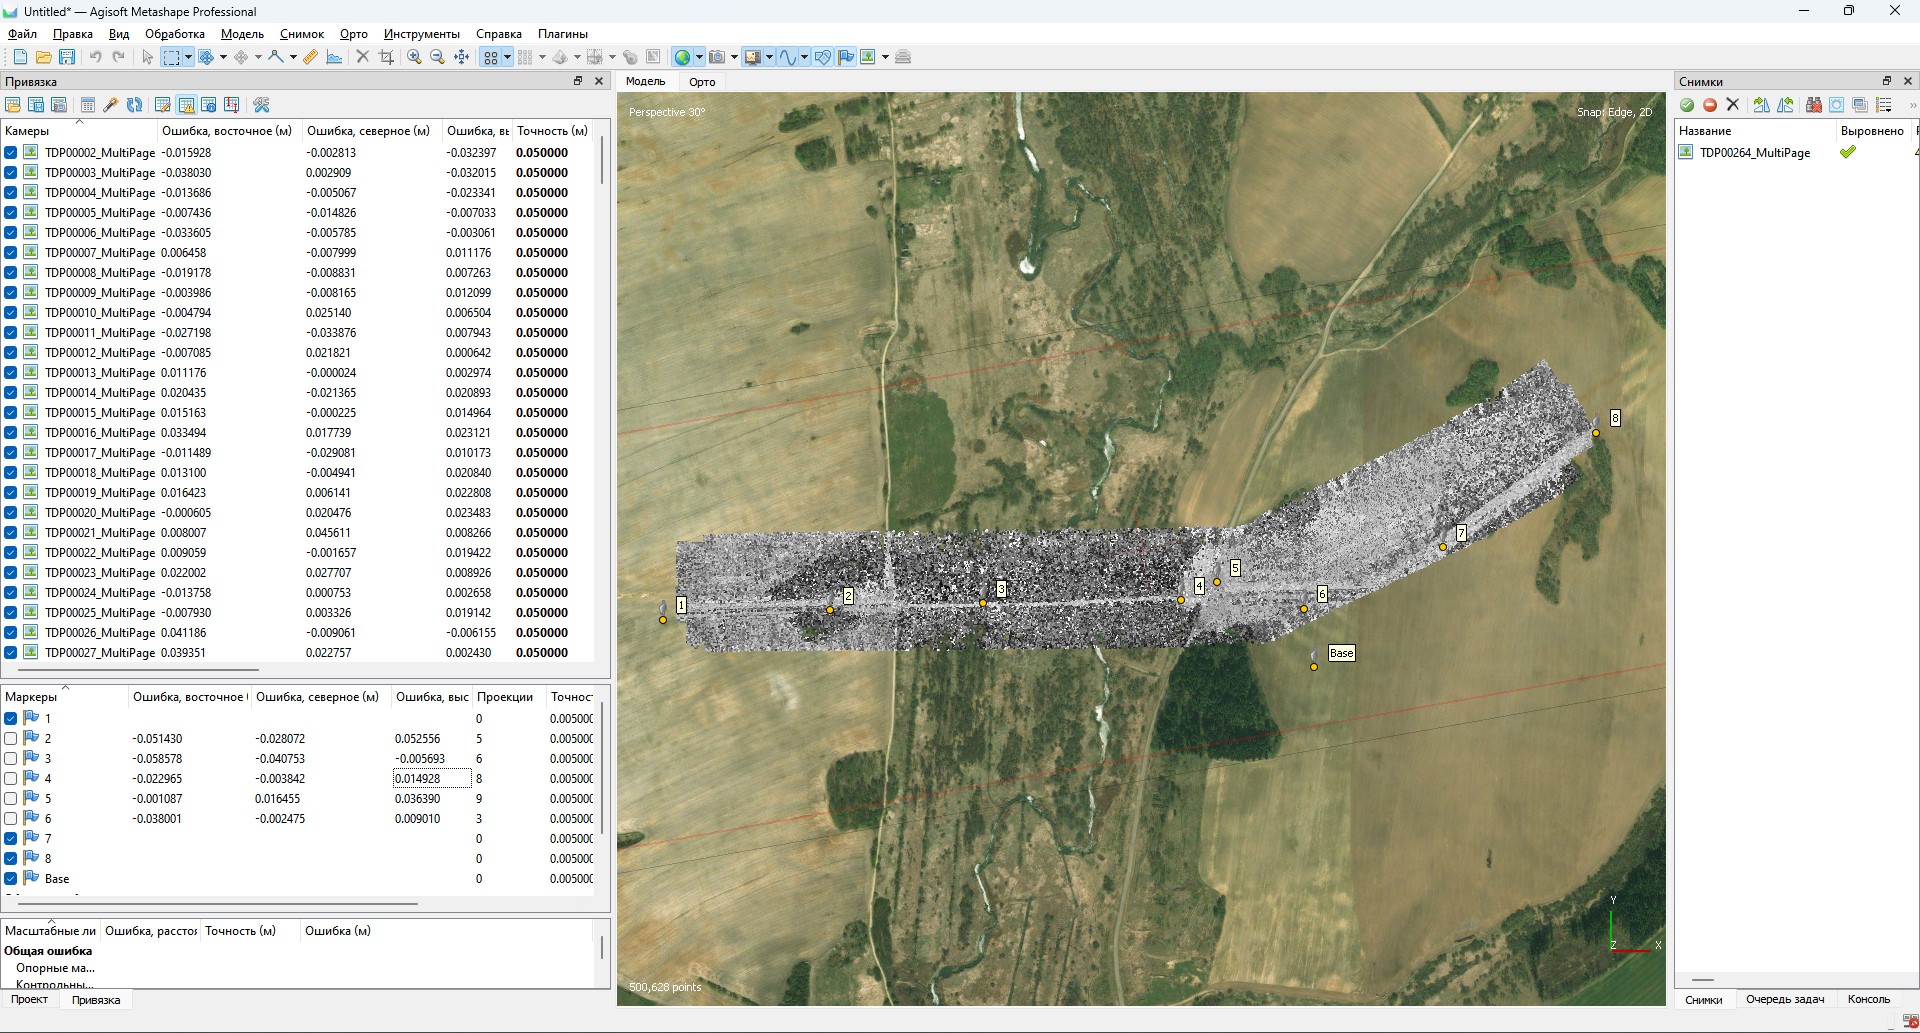
Adjust the focal length if necessary.
If the measurement accuracy meets the specified criteria, proceed to point cloud creation. Otherwise, analyze all steps of the process, from data collection to data processing, to identify and eliminate possible errors.
7. Construct a dense point cloud and digital elevation model.
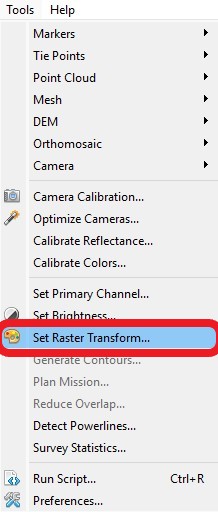
8. ВычислитеCompute необходимуюthe информациюrequired обindex индексе.information.
НаInпанелиtheинструментовtoolbar,воспользуйтесьuseкнопкойthe"Преобразование“Setрастра";Raster Transform” button;
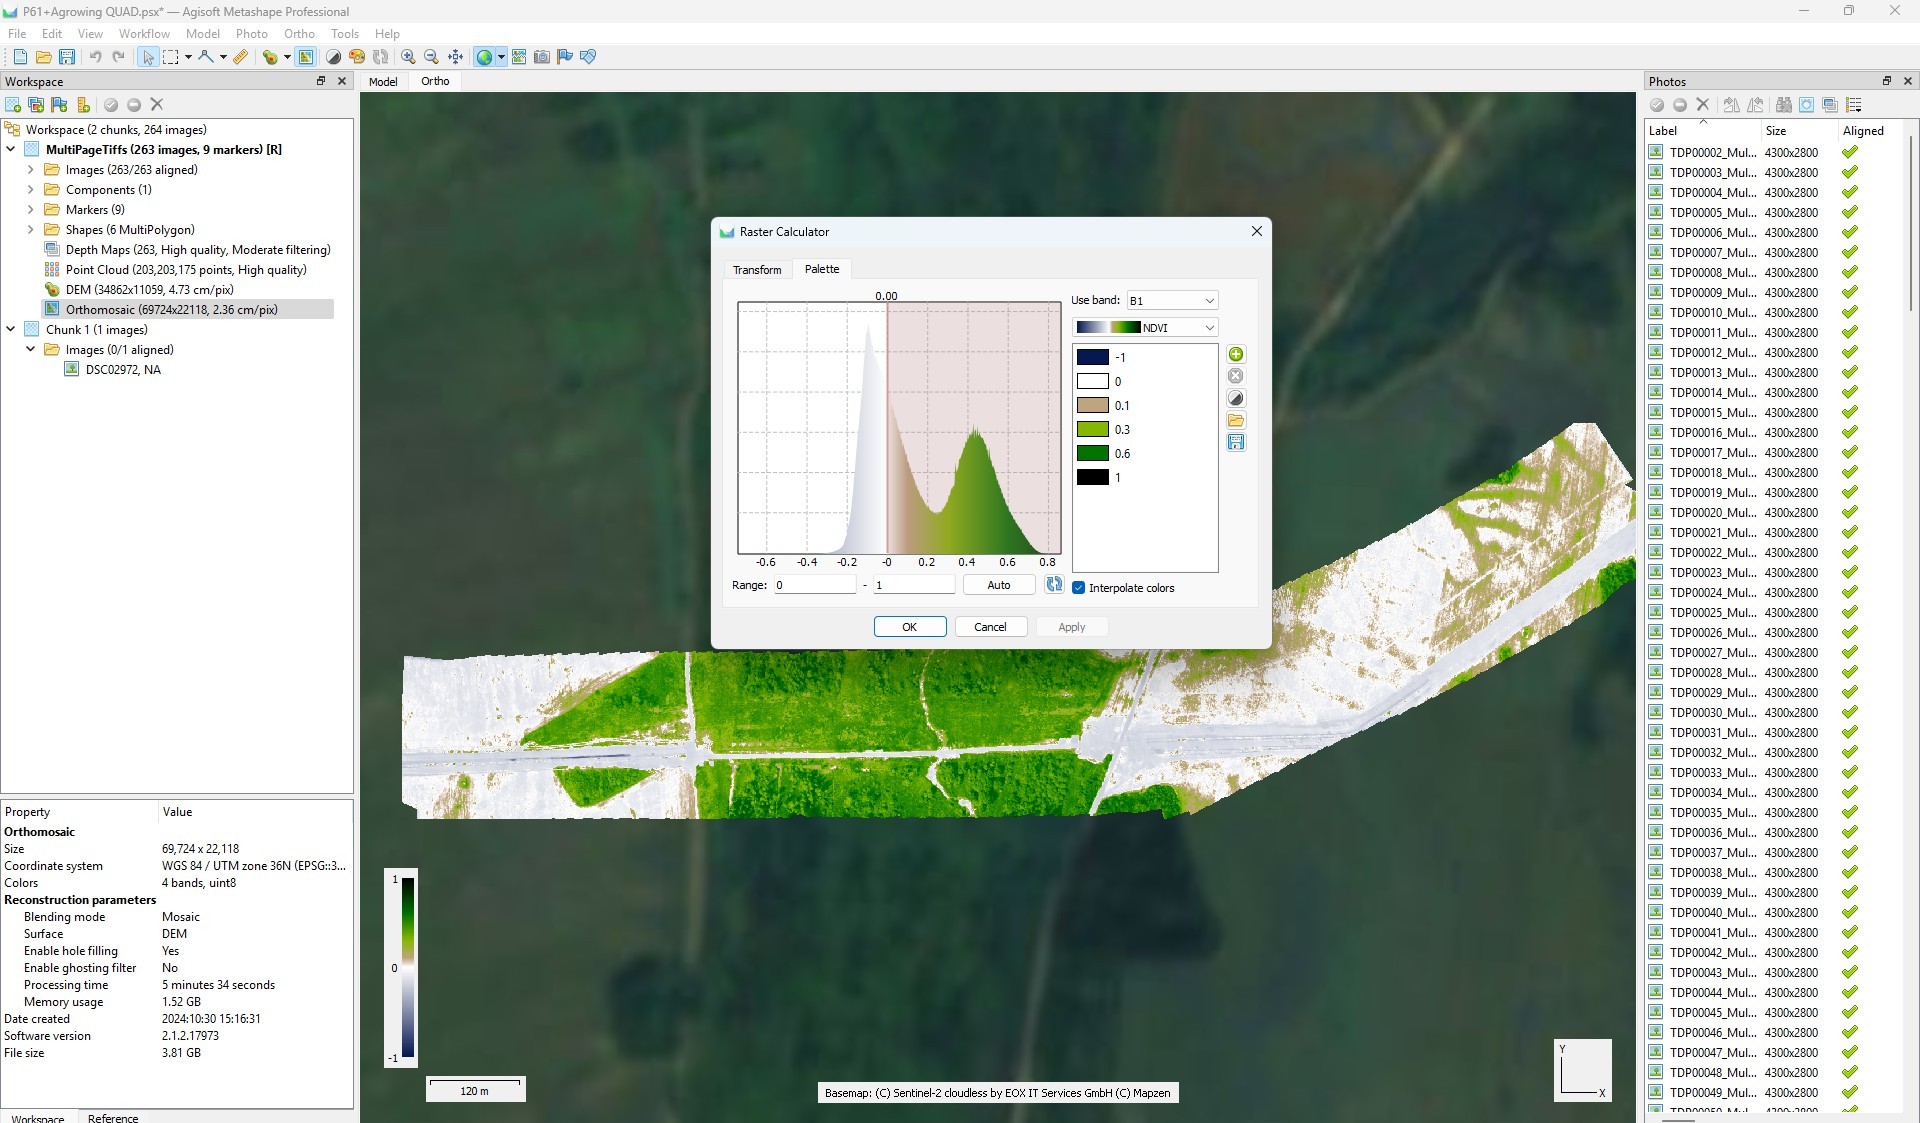
ВInрастровомtheкалькулятореrasterвведитеcalculator,формулу,enterпоtheкоторойformulaбудетthatвычислятьсяwillвашcalculateиндекс;your index;
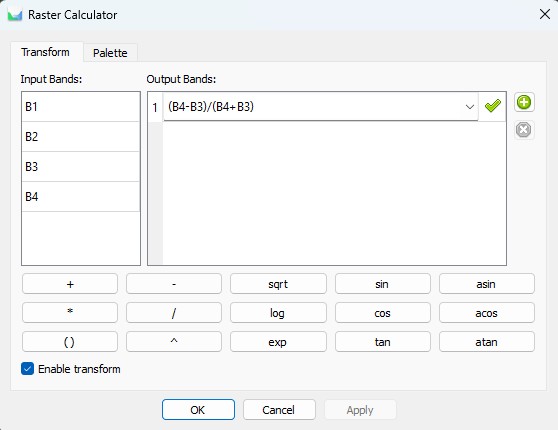
ПерейдитеGoвоtoвкладкуthe"Палитра",“Palette”установитеtab,необходимыйsetдиапазон,theвыберитеdesiredподходящуюrange,палитруselectиtheнажмитеappropriate"OK"palette and click “OK”.
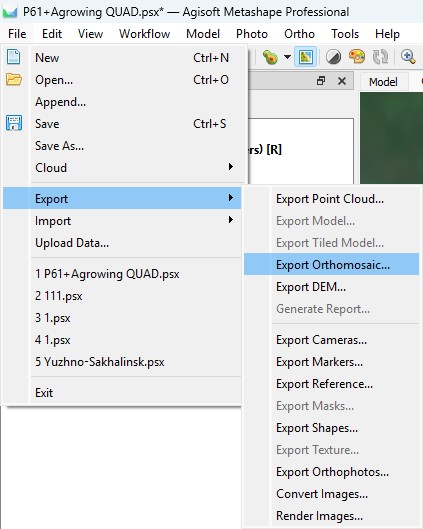
9. ДляTo выполненияexport экспортаan ортофотопланаorthomosaic, выполнитеfollow следующиеthe действия:steps below:
ВыберитеSelect"Файл"“File” -"Экспорт"“Export” -"Экспорт“Exportортофотоплана"Orthomosaic”
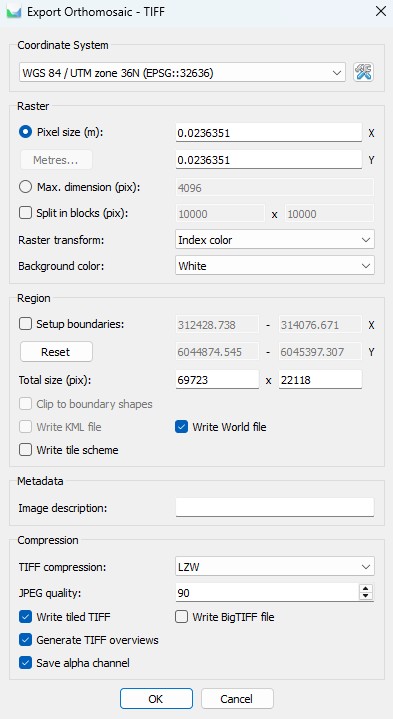
УкажитеSelectпутьtheиpathимяandфайлаfileдляnameсохраненияforортофотоплана;saving the orthomosaic;НастройтеConfigureпараметрыexportэкспорта,settingsследуяfollowingрекомендациямtheнаrecommendationsскриншоте.onПриtheнеобходимостиscreenshot.разделитеIfортофотопланnecessary,наdivideблокиtheдляorthomosaicудобстваintoдальнейшегоblocksиспользования.for convenient further use.
На
This процессcompletes обработкиthe завершен.processing. ВсеAll необходимыеnecessary материалыmaterials могутcan бытьbe экспортированыexported такимin жеthe способом,same какway написаноas вwritten пунктеin point 9.