
Setting the shooting options
Setting shooting parameters
All camera parameters are required for correct calculation of longitudinal and transverse overlap between images during mission planning and en-route imaging.
The focal length value may vary depending on the lens used.
|
TOPODRONE P61 Focal length, mm Sensor width, mm Sensor height, mm Horizontal sensor resolution, pix Vertical sensor resolution, pix Minimum response interval, with |
21 или 24 35,7 23,8 9504 6336 1 |
Adjusting the parameters using the Smart Controller
- Once your drone is powered on, the camera will be powered up, initialized and displayed as a TOPODRONE payload in the DJI Pilot 2 app.
- To activate the camera control buttons, press the AF button on the remote control screen, then press the MF button. These buttons are responsible for auto and manual focus.
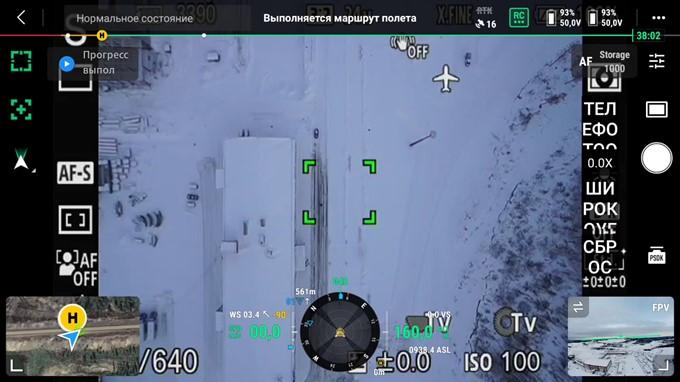
- Photogrammetric camera TOPODRONE P61 works in shutter speed priority mode, the user needs to select shutter speed manually, and the aperture changes depending on the illumination of the object.
- To set the required shutter speed, use the control roller. Rotating the roller clockwise will decrease the shutter speed and counterclockwise will increase the shutter speed. The shutter speed will be displayed on the screen.
- To change the ISO setting, press the down button on the control roller, then use the roller to select the desired value and confirm your selection by pressing the center button on the control roller.
- Pressing right on the control roller opens a menu where you can change exposure steps and confirm changes by pressing the center button.
- To change the white balance, press the “Fn” button on the camera, select “White Balance”, then use the roller to set the value you want.
- Check the initialization on the TOPODRONE UAV PPK UPGRADE Kit or on your laser scanner. The LED indication for TOPODRONE UAV PPK UPGRADE Kit is shown in the table below.
LED light Description Green LED
Indicates the status of the Power Module
Blue LED
PDOP>10 not lit
Flashing slowly 3<PDOP<10
Flashing rapidly 2<PDOP
PDOP illuminates continuously
Orange LED
Indicates the status of recording to the memory card. The LED blinks rapidly during recording. Each blinking corresponds to the recording of 4 kB of data
Red LED
Indicates if there are any errors in the system. If an error occurs, check the memory card
- Raise the drone to operating altitude, focus on the ground surface in “AF” mode and set the camera to “MF” mode. Launch the drone for the mission.
It is necessary to repeat all points before each flight.
Customizing shooting settings using a Wi-Fi connection
The camera has an option to display the image on the screen of your mobile device.
After you turn on the camera, an access point with the name of the Wi-Fi network - TD_61mp - will appear. You can connect to the network using the password: topodrone.
After successful connection to the network in the browser window you should enter the address: 192.168.10.1
Recommended range of shooting parameters for TOPODRONE P61
| Parameter | Sunny | Cloudy | Overcast |
| ISO | 100 … 200 | 200 … 600 | 600 … 800 |
| Shutter speed | 1/4000 … 1/2000 | 1/2000 … 1/1000 | 1/1000 … 1/800 |
| Aperture | 8 … 10 | 6 … 8 | 4 … 8 |
| White Balance | Sunny | Cloudy | Cloudy |
For more information on customizing your shooting settings, check out our Telegram channel at the links below:
Настройка изображения камеры. Введение. Часть 1 из 3
Настройка изображения камеры. Введение. Часть 2 из 3
Настройка изображения камеры. Введение. Часть 3 из 3
Output TOPODRONE P61 to the Internet to perform diagnostics
To bring the TOPODRONE P61 camera to the Internet, the following conditions will be required when performing diagnostics:
- Mobile device (smartphone or tablet) running Android OS (Only Samsung, Honor, Xiaomi phones are tested, other manufacturers' mobile devices may not work correctly)
- 3G/4G/5G mobile internet or Wi-Fi network with internet connection.
- USB to LEMO 6 PIN cable
- USB cable for connection to mobile device.
- TOPODRONE P61 photogrammetric camera
- Drone for power connection via cable from Skyport connector
- Install the TOPODRONE P61 camera according to your delivery set
- Power up the TOPODRONE P61 by connecting it to the drone.
- Wait for the camera to turn on and load.
- Connect the USB – LEMO 6 PIN cable and the USB cable for connecting to a mobile device together by the USB Type-A connector (rectangular connector).
- Connect the USB to LEMO 6 PIN cable to the LEMO 6 PIN connector of the TOPODRONE P61 camera.
- Connect the Android mobile device by USB cable
- Make sure your mobile device has an active Internet connection by 3G/4G/5G or Wi-Fi.
- On your mobile device, go to the menu: settings / connections / mobile hotspot and modem / USB modem mode.
- TOPODRONE P61 camera is displayed on the Internet.