Installing TOPODRONE laser scanner on DJI M200
ДляTo установкиinstall лазерного сканераthe TOPODRONE наlaser квадрокоптерscanner on your DJI M200M200, потребуютсяyou следующиеwill компоненты,need входящиеthe вfollowing комплектcomponents поставки:included in the package:
ЛазерныйTOPODRONE сканерlaser TOPODRONE;scanner;КрепежнаяMounting скобаbracket иand ответнаяmating часть;part;КомплектA крепежныхset винтов;of mounting screws;СпиртоваяAlcohol салфетка;wipe;АдаптерPower питанияadapter иand Helix антенна.antenna.
|
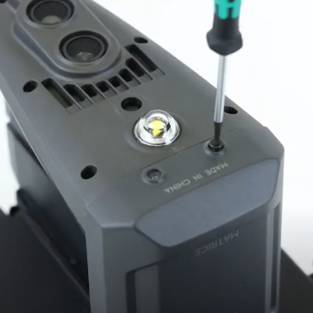 
ШагStep 1.1: ПриUsing помощи отверткиa Hex 1.5 извлекитеscrewdriver, remove the 2 винтаscrews вon нижнейthe частиbottom квадрокоптераof the DJI M200 drone.
|
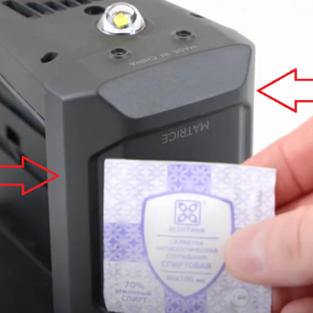 
ШагStep 2.2: ПриWipe помощиthe спиртовойsides салфеткиof протрите боковые грани квадрокоптераthe DJI M200.M200 with an alcohol wipe.
|
 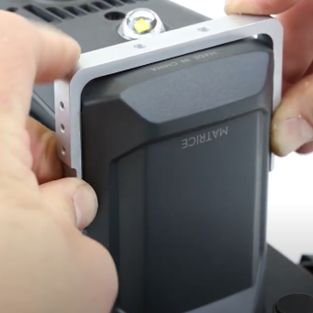
ШагStep 3.3: ОтклейтеPeel защитныеoff пленкиthe 3Мprotective скотчаfilms иof установитеthe П-скобу3M крепленияadhesive лазерногоtape сканераand install the TOPODRONE laser scanner's U-mount.
|
|
 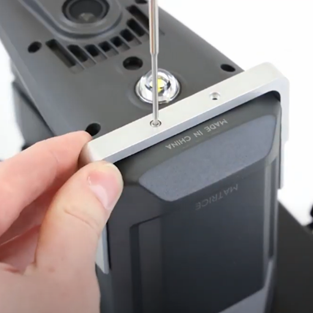
ШагStep 4.4: ПриScrew помощиin отверткиthe 2 M2x6 screws included in the kit using a Hex 1.5 привинтитеscrewdriver 2 винта М2х6 из комплекта
|
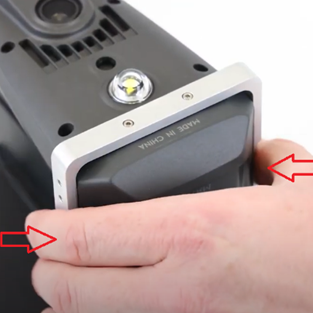 
ШагStep 5.5: ПлотноFirmly прижмитеpress П-образнуюthe скобуU-mount сon двухboth сторонsides вwhere местеthe крепления двустороннегоdouble-sided 3M скотчаtape is attached.
|
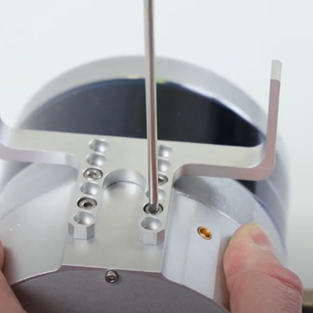 
ШагStep 6.6. ПлотноScrew привинтитеthe 4 винтаscrews ответнойof частиthe крепленияM3x10 М3х10mount приmating помощиpart отверткиtightly onto the TOPODRONE laser scanner using a HEX 2 кscrewdriver. лазерному сканеру TOPODRONE
|
|
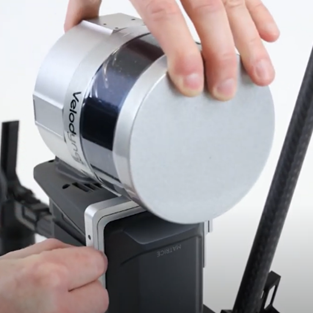 
ШагStep 7.7: УстановитеPlace лазерный сканерthe TOPODRONE наlaser П-образнуюscanner скобуon какthe показаноU-mount наas фотоshown in the photo.
|
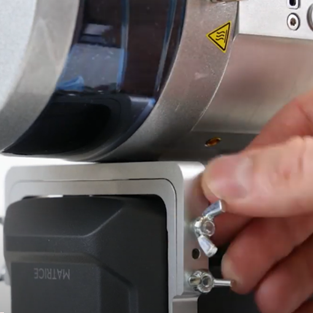 
ШагStep 8.8: ЗакрепитеFasten лазерный сканерthe TOPODRONE барашкамиlaser какscanner показаноwith наthe фотоscrews as shown in the photo.
|
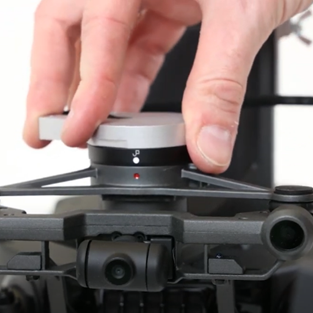 
ШагStep 9.9: ПодключитеPlug вthe разъемTOPODRONE laser scanner's power adapter into the Sky-Port адаптер питания лазерного сканера TOPODRONEconnector.
|
|
 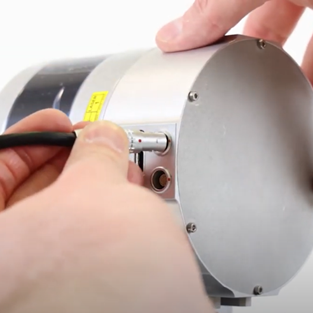
ШагStep 10.10. ПодключитеConnect кабель питанияthe Lemo 4 pin вpower cable to the TOPODRONE LiDARLiDAR.
|
 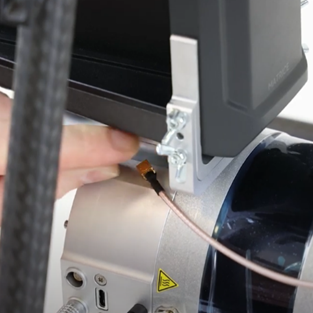
ШагStep 11.11. ПодключитеConnect антенныйthe вantenna connector to the TOPODRONE LiDARLiDAR.
|
 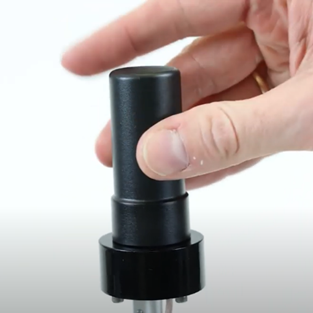
ШагStep 12.12. ПлотноScrew навинтитеthe Helix-антеннуHelix antenna on tightly.
|
