
Installing TOPODRONE LiDAR on DJI Matrice 300 / M350
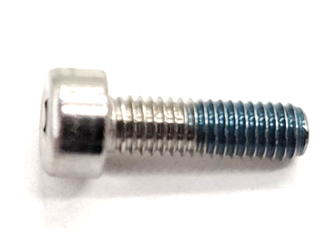
The following components and tools are required for installation:
|
Version 1, powered by SkyPort connector 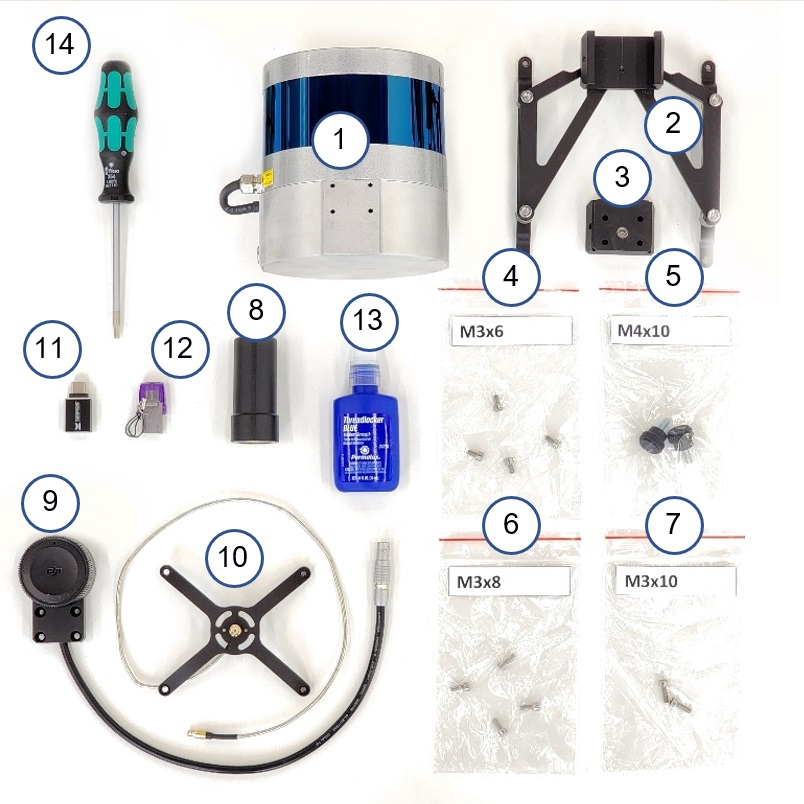
|
Version 2, powered by Type-C connector 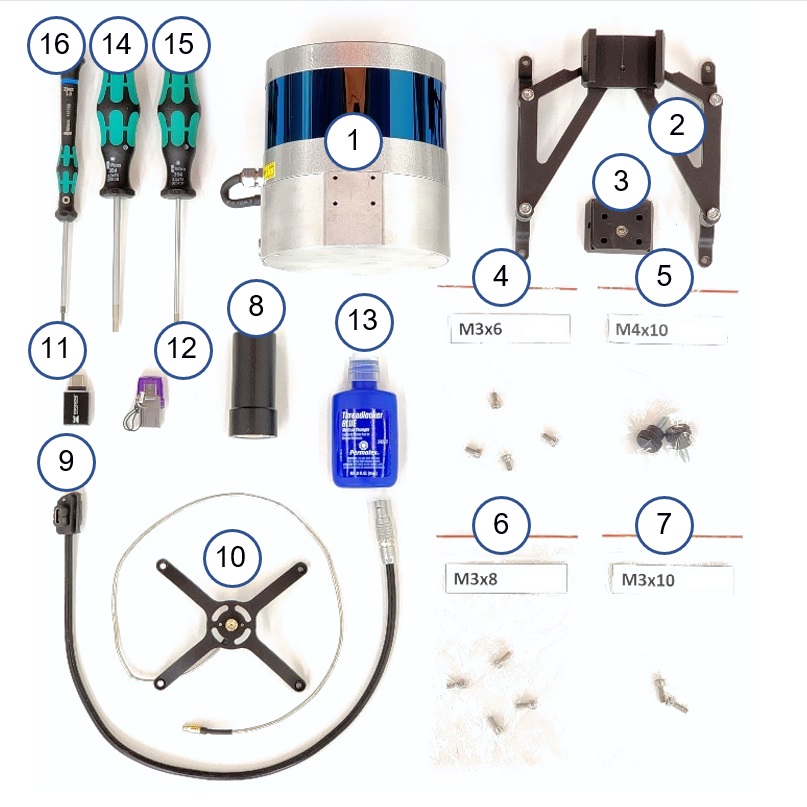
|
* Not included with the TOPODRONE LiDAR.
|
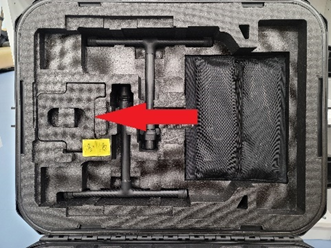
Step 1. Remove the drone's cradle from the case |
Step 2. Install the cradle on the drone |
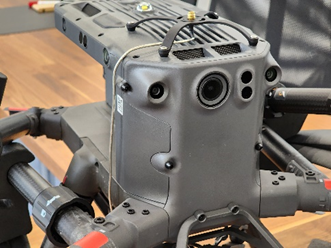
Step 3. Flip the DJM 300 drone |
|
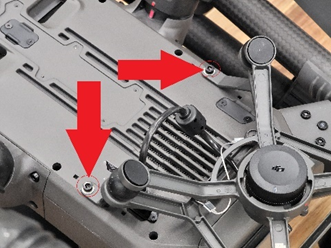
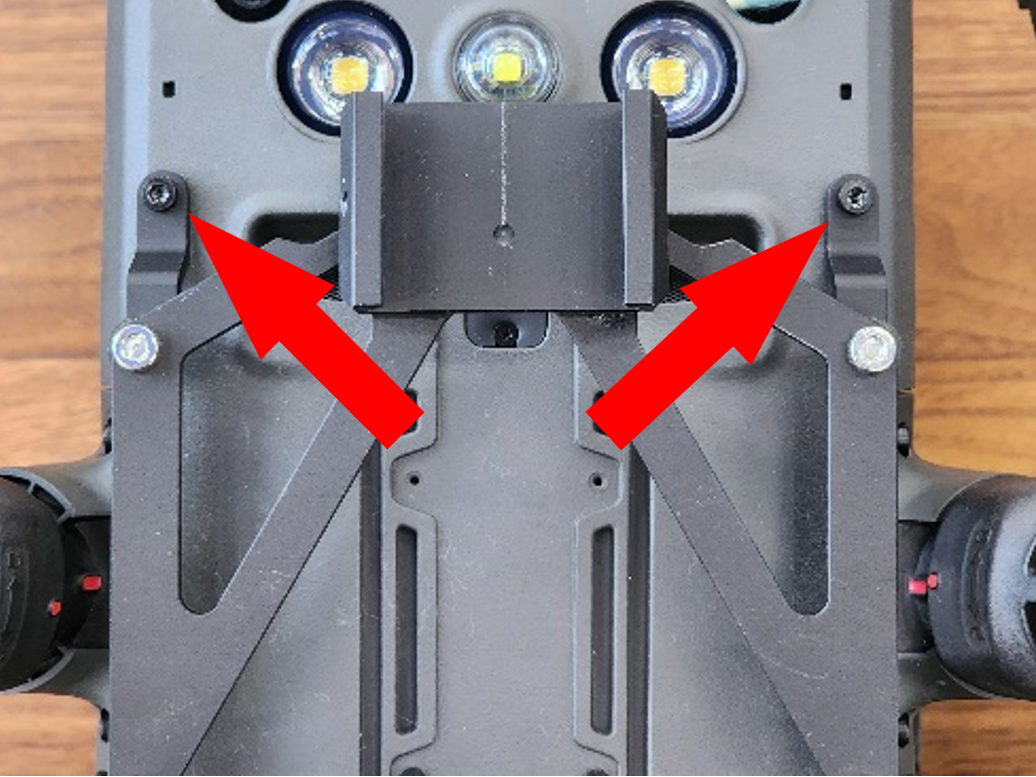
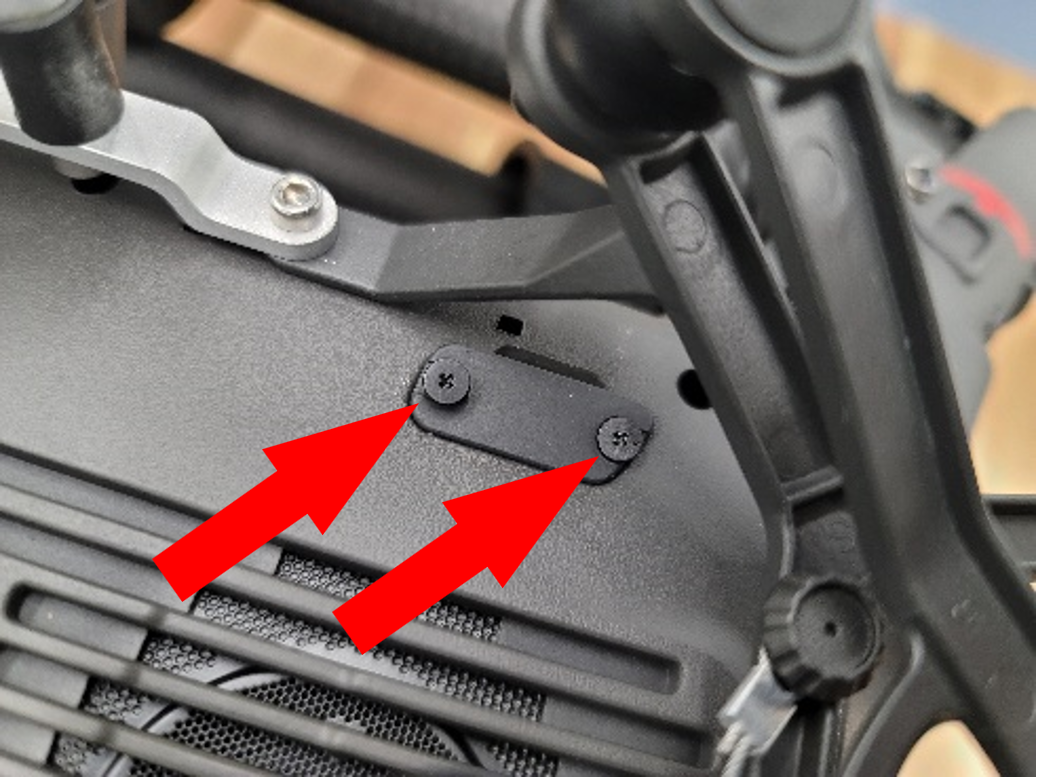
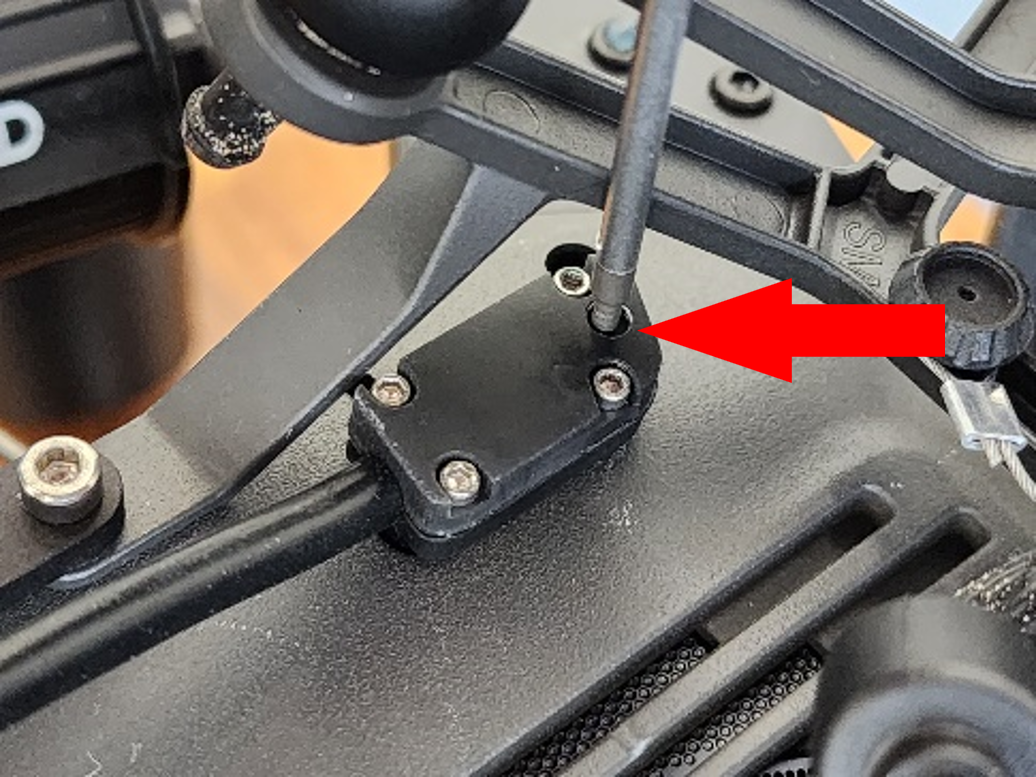
Step 4. Using a 2.5mm Hex screwdriver, unscrew the two black screws and set them aside |
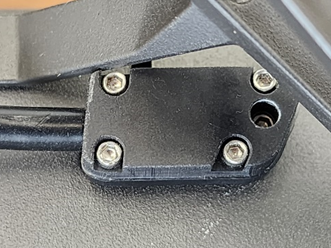
Step 5. Install the mounting pad on the bottom of the drone |
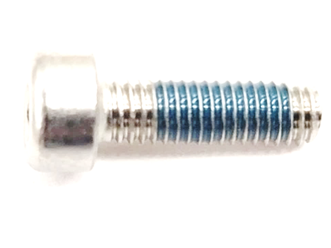
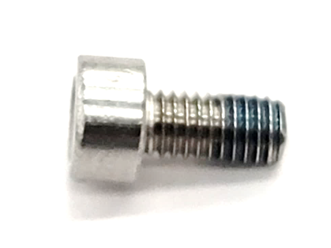
Step 6. Using a 2.5mm Hex screwdriver, screw in 2 M3 x 10 screws |
|
Important! Use the thread retainer in this step! Tighten the screws tightly during installation. |
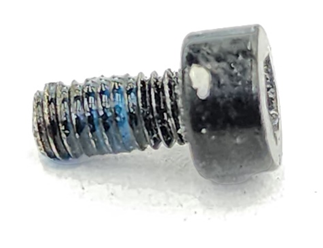
Step 7. Using a 2.5mm Hex screwdriver, screw in the 2 black screws obtained in step 4 |
Important! Use the thread retainer in this step! Tighten the screws tightly during installation. |
|
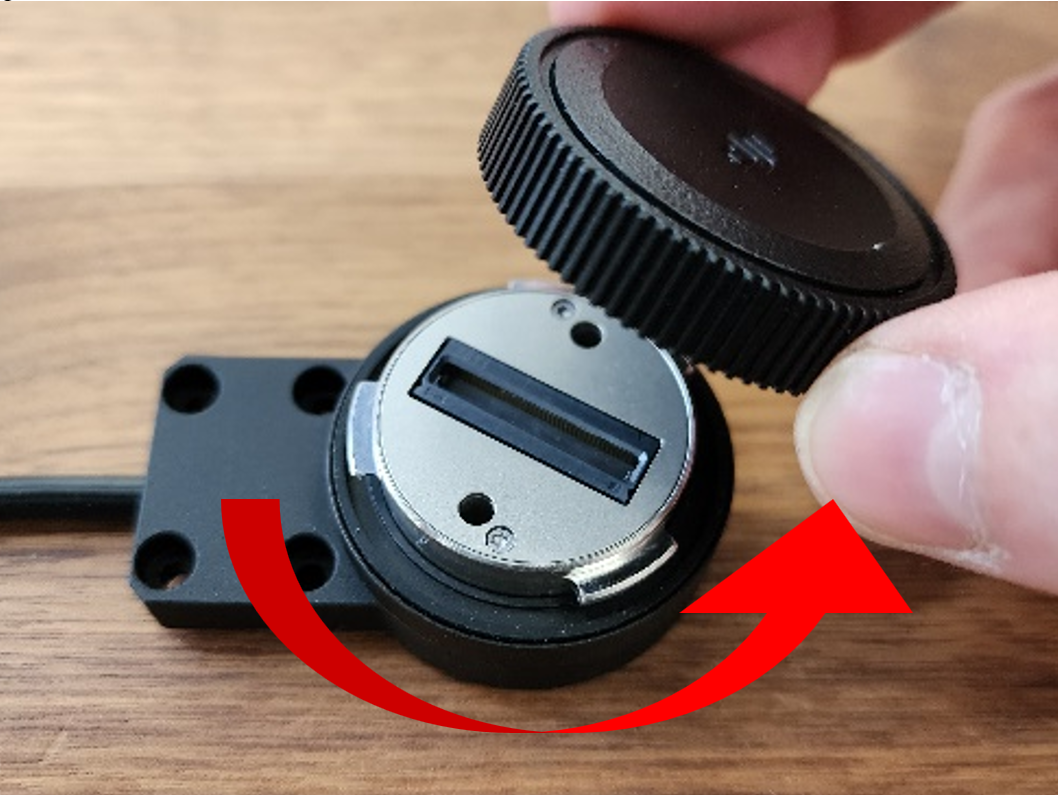
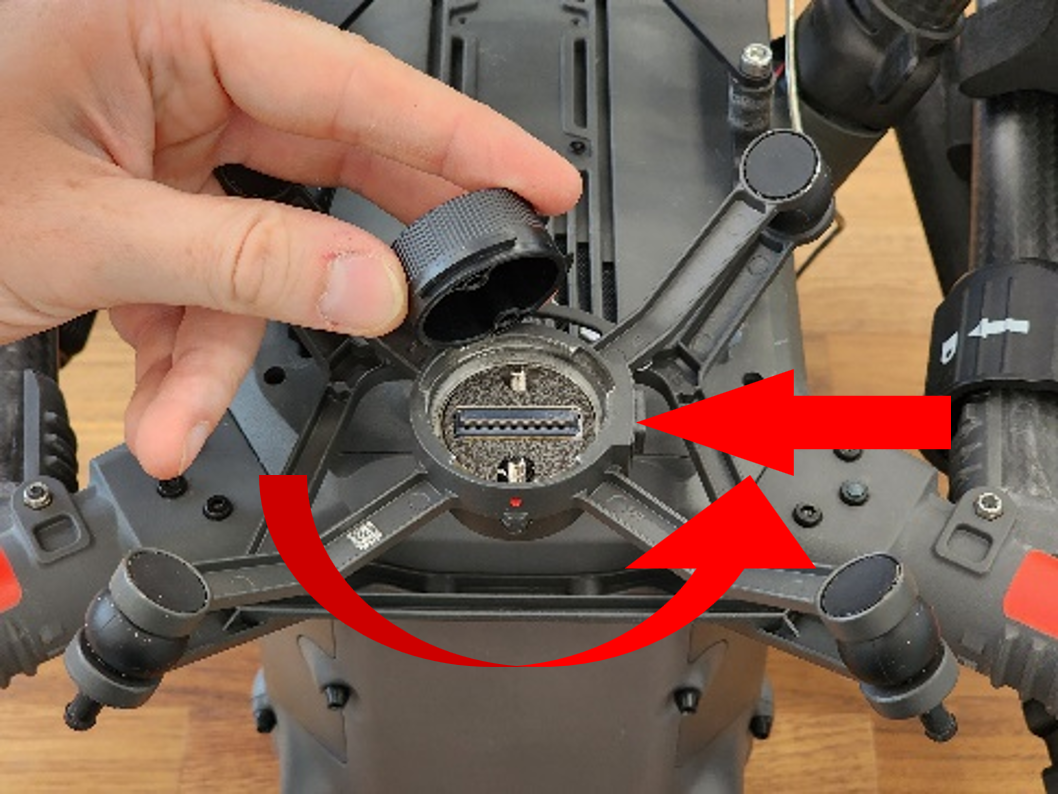
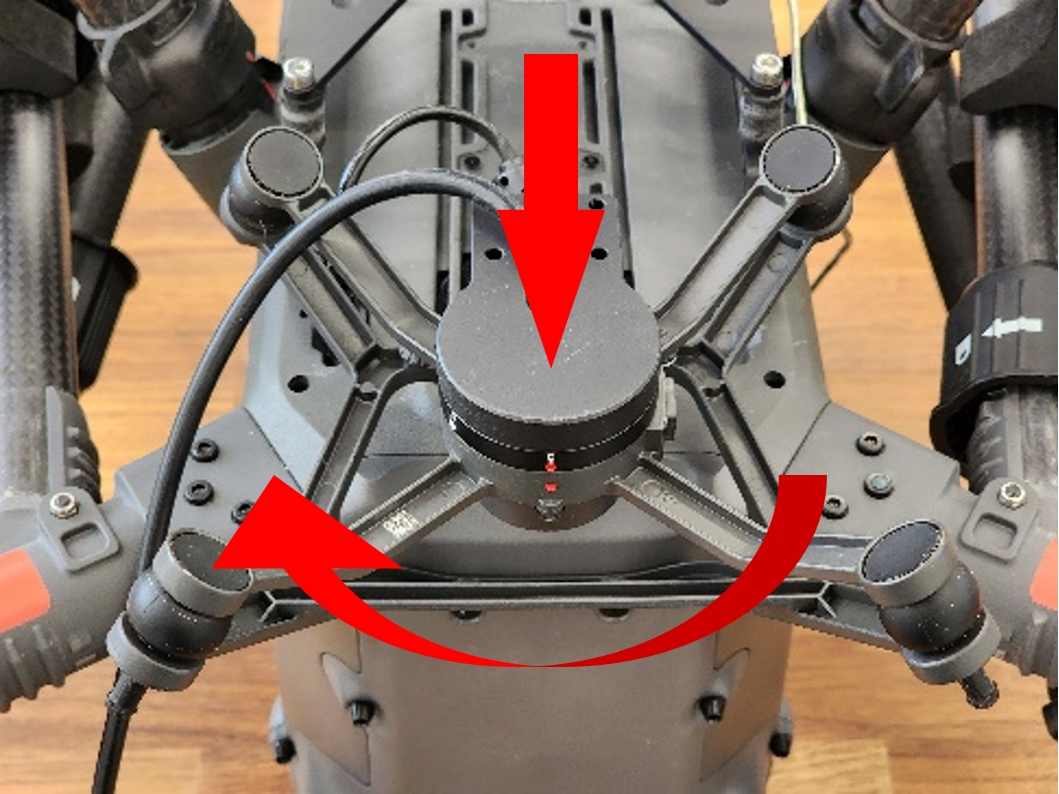
Step 8. (Execution 1). Remove the cover from the SkyPort connector of the LEMO 6 PIN – SkyPort cable |
Step 9. (Execution 1). Remove the cover from the SkyPort connector of the drone |
Step 10. (Execution 1). Connect the cable to the SkyPort connector of the drone |
|
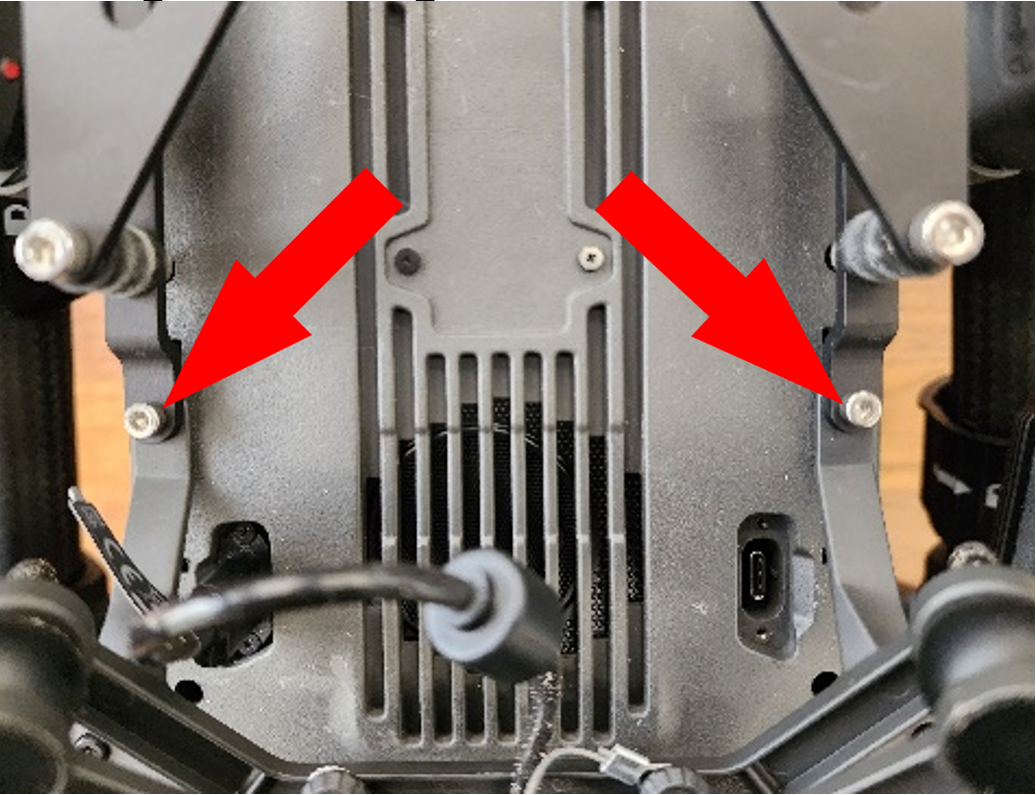
Step 8. (Execution 2). Using a phillips screwdriver, unscrew the 2 screws of the USB Type-C cover |
Step 9. (Execution 2). Install the USB Type-C cable connector into the drone, following the key pattern |
Step 10. (Execution 2). Using a 1.5mm hex screwdriver, tighten the locking screw |
|
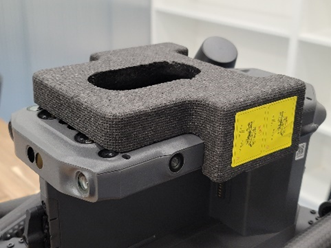
Step 11. Turn over the DJI 300 RTK, remove the bed |
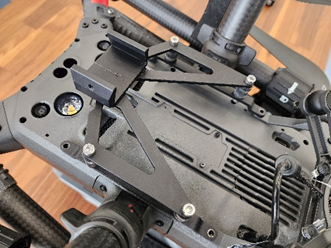
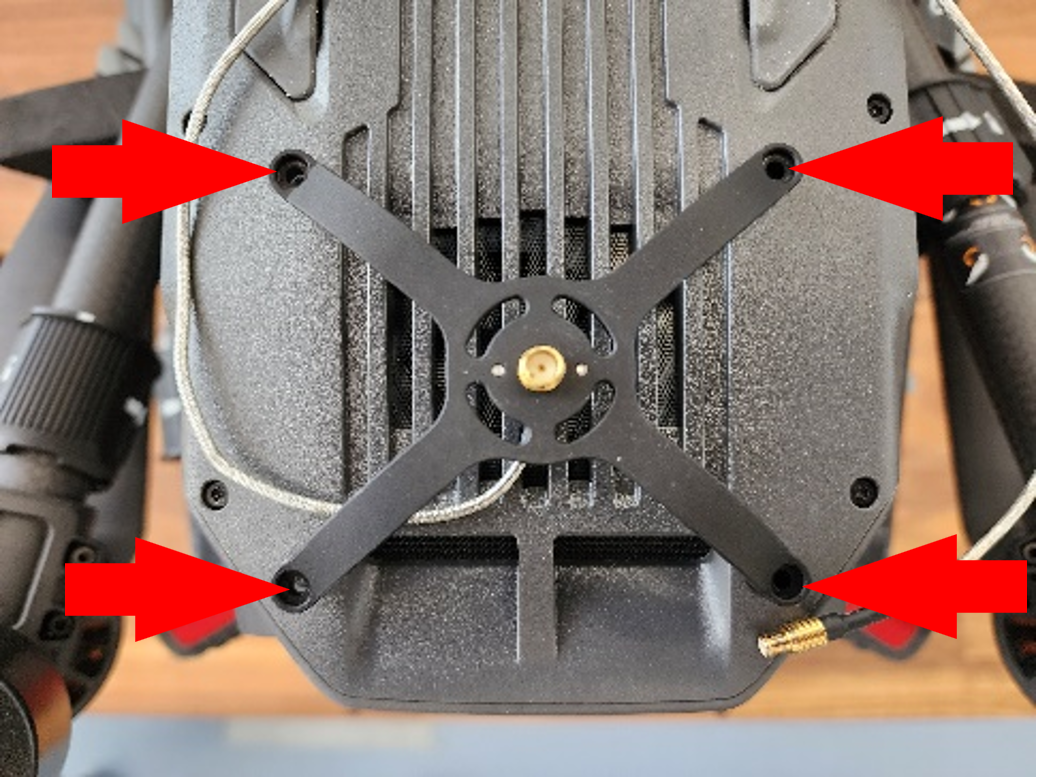
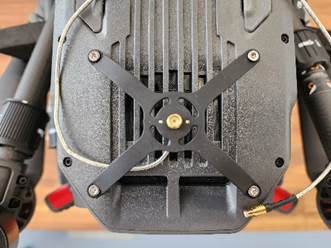
Step 12. Install the "spider" type antenna mount on the top of the drone |
Step 13. Secure the mount using M3x6 screws and a 2.5mm Hex screwdriver. |
|
Important! Use the thread retainer in this step! Tighten the screws tightly during installation. |
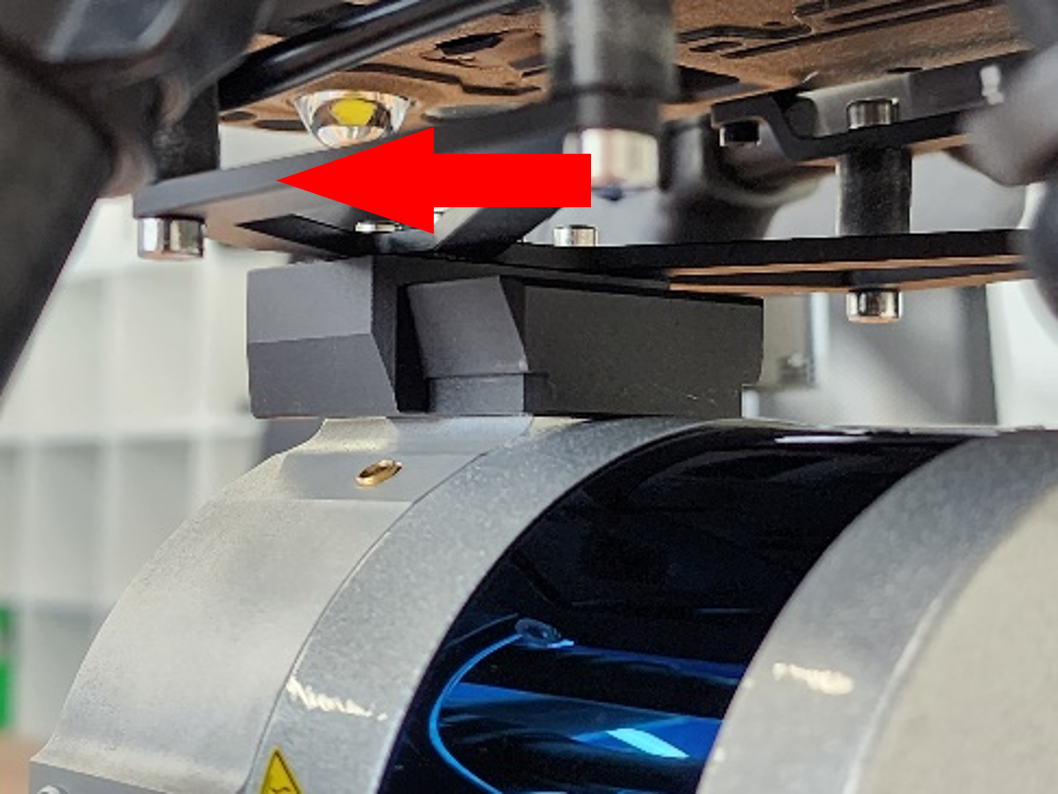
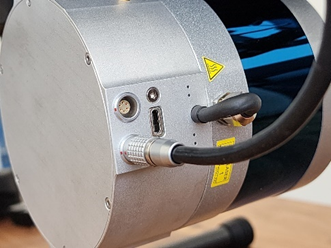
Step 14. Lay the cable along the housing as shown in the photo |
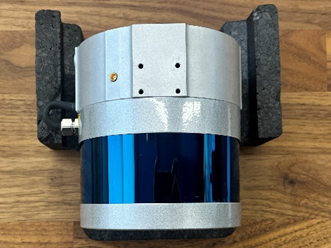
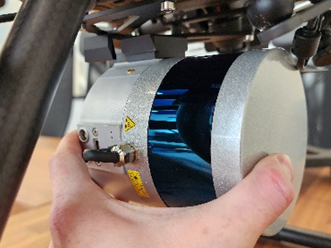
Step 15. Put the TOPODRONE LiDAR on the drone bed, the antenna connector should be on top |
|
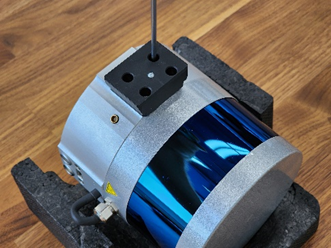
Step 16. Install the dovetail mount and tighten the M3x8 screws with a screwdriver |
Important! Use the thread retainer in this step! Tighten the screws tightly during installation. |
Step 17. Install the TOPODRONE LiDAR on the quick-release mount |
|
It is recommended to install LiDAR from front to back |
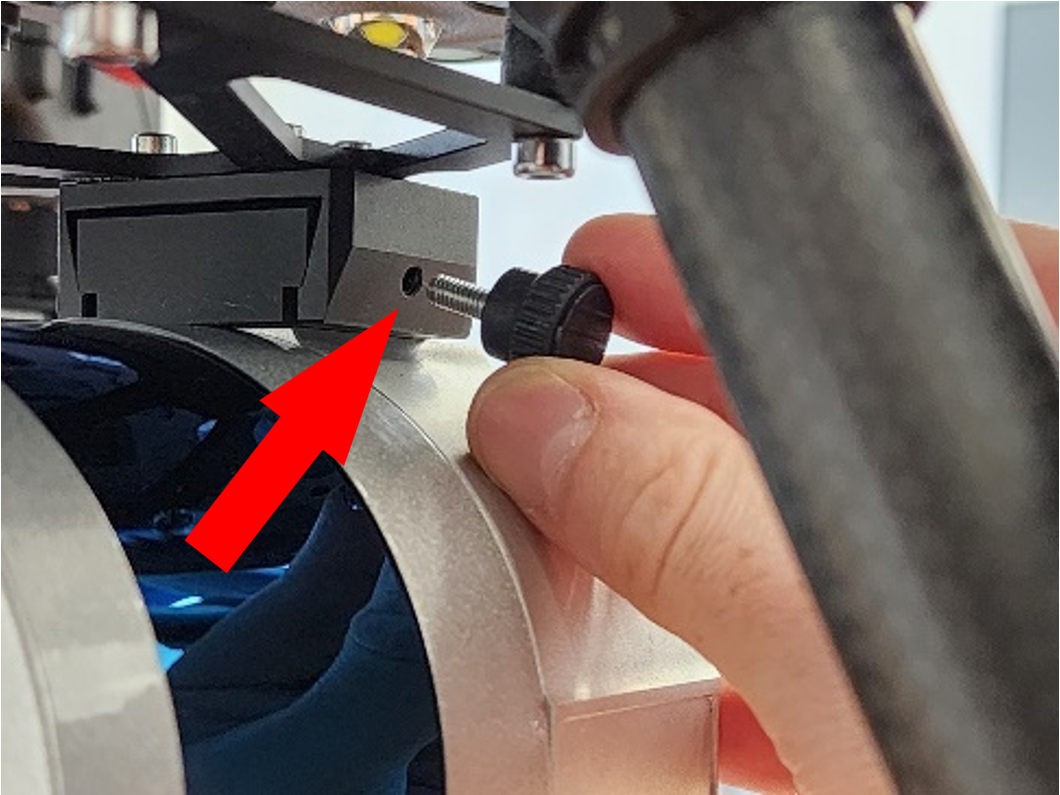
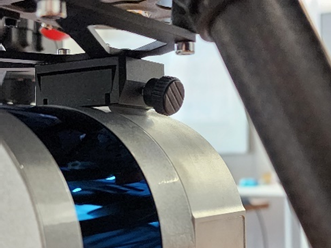
Step 18. Screw in the locking wing screw |
Шаг 19. Винт должен быть закручен плотно, но без чрезмерного усилия |
|
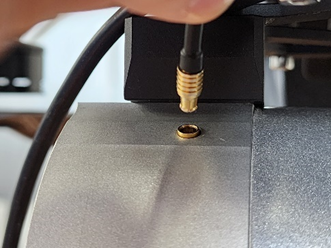
Шаг 20. Подключите антенный разъём к лазерному сканеру |
После подключения антенного разъема он должен выглядеть как на фото |
Step 19. The screw must be screwed tightly, but without excessive force |
|
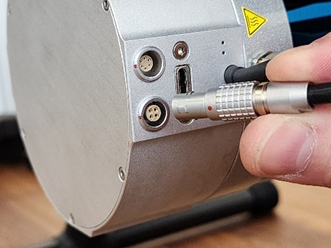
After connecting the power connector, it should look like in the photo |
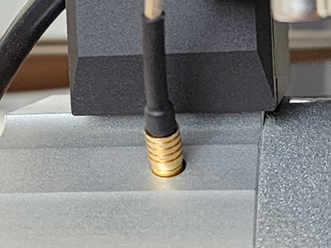
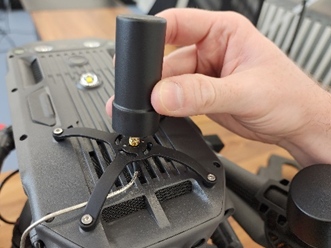
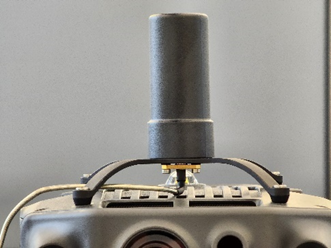
Step 22. Screw the GNSS antenna onto the spider-type mounting connector. |
The GNSS antenna should be twisted tightly, but without excessive force |
|
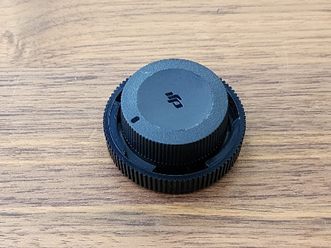
Step 23. In order not to lose the protective caps, you can connect them together |
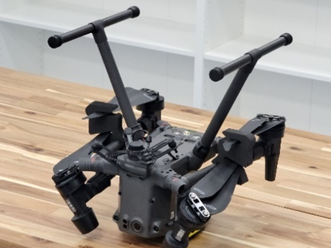
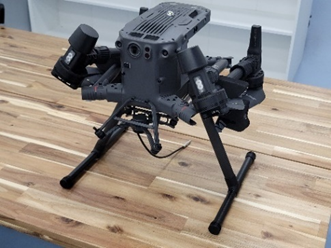
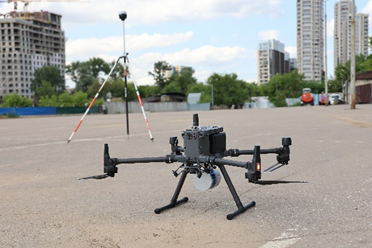
Step 24. The drone assembly with TOPODRONE LiDAR looks like this |
You can start performing ALS |
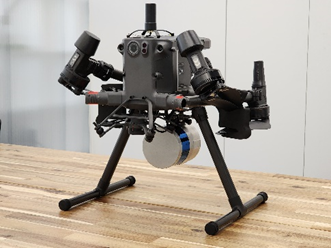
* Due to the partial overlap of the sensors, the use of a lower visual positioning system with TOPODRONE LiDAR installed is not recommended. It is recommended to land drones during ALS in manual mode to reduce the impact on the landing gear and TOPODRONE LiDAR during landing. The manufacturer is not responsible for the stability of operation of the DJM 300 RTK drone with the lower visual positioning sensors turned on.
No Comments